IdeaScale Whiteboard is an intuitive tool that enables teams to collaborate in real-time to innovate and find meaningful solutions. The main facets of the product are a shared organization, a collaborative whiteboard, and a built-in task manager. In this article, we will explore the key components of the settings so communities can effectively utilize IdeaScale Whiteboard.
Setting up an Organization
Profile
Organization Members
User Permissions
Setting up an Organization
The whiteboard organization is where a team will gather to collaborate on boards and tasks. After the organization has been created by the admin, there are a couple of settings required to manage the organization and its members. Clicking on My Account in the IdeaScale Whiteboard dashboard will take you to the settings page, where the organization and individual profile can be managed. Once in the organization settings area, users can logout from their account, or explore the various settings attached to their account.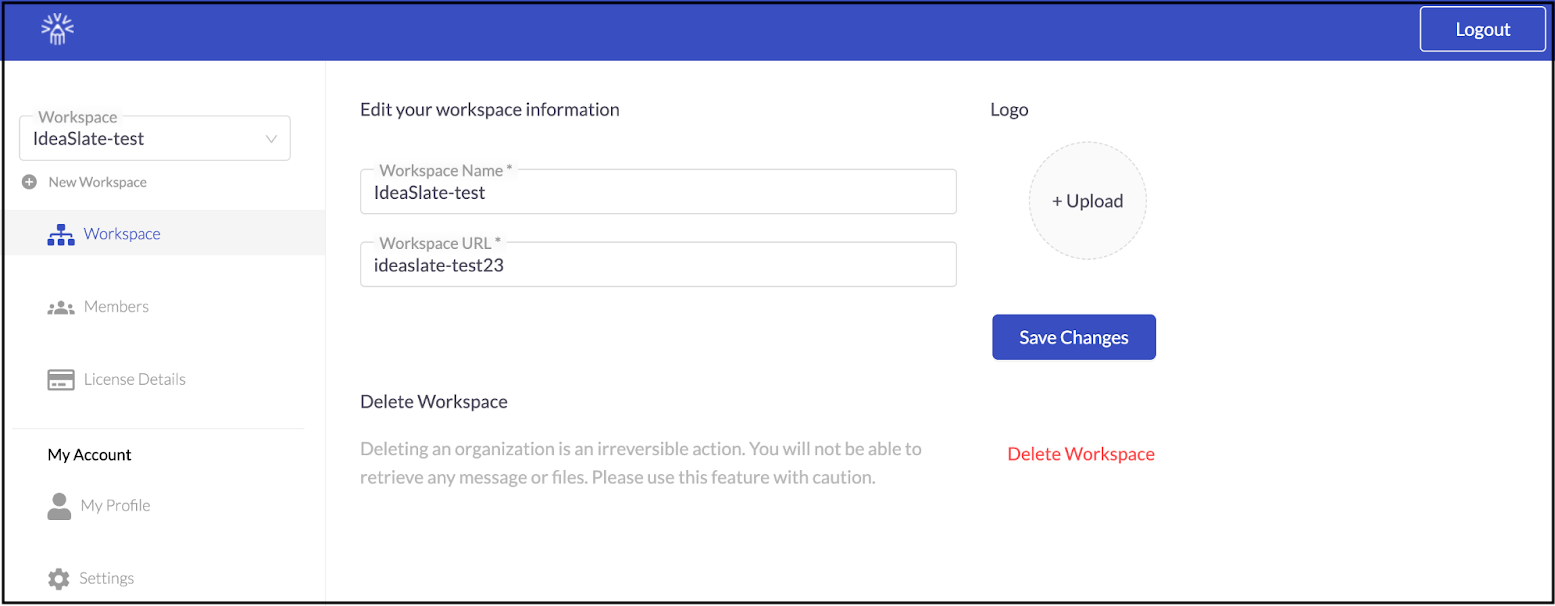
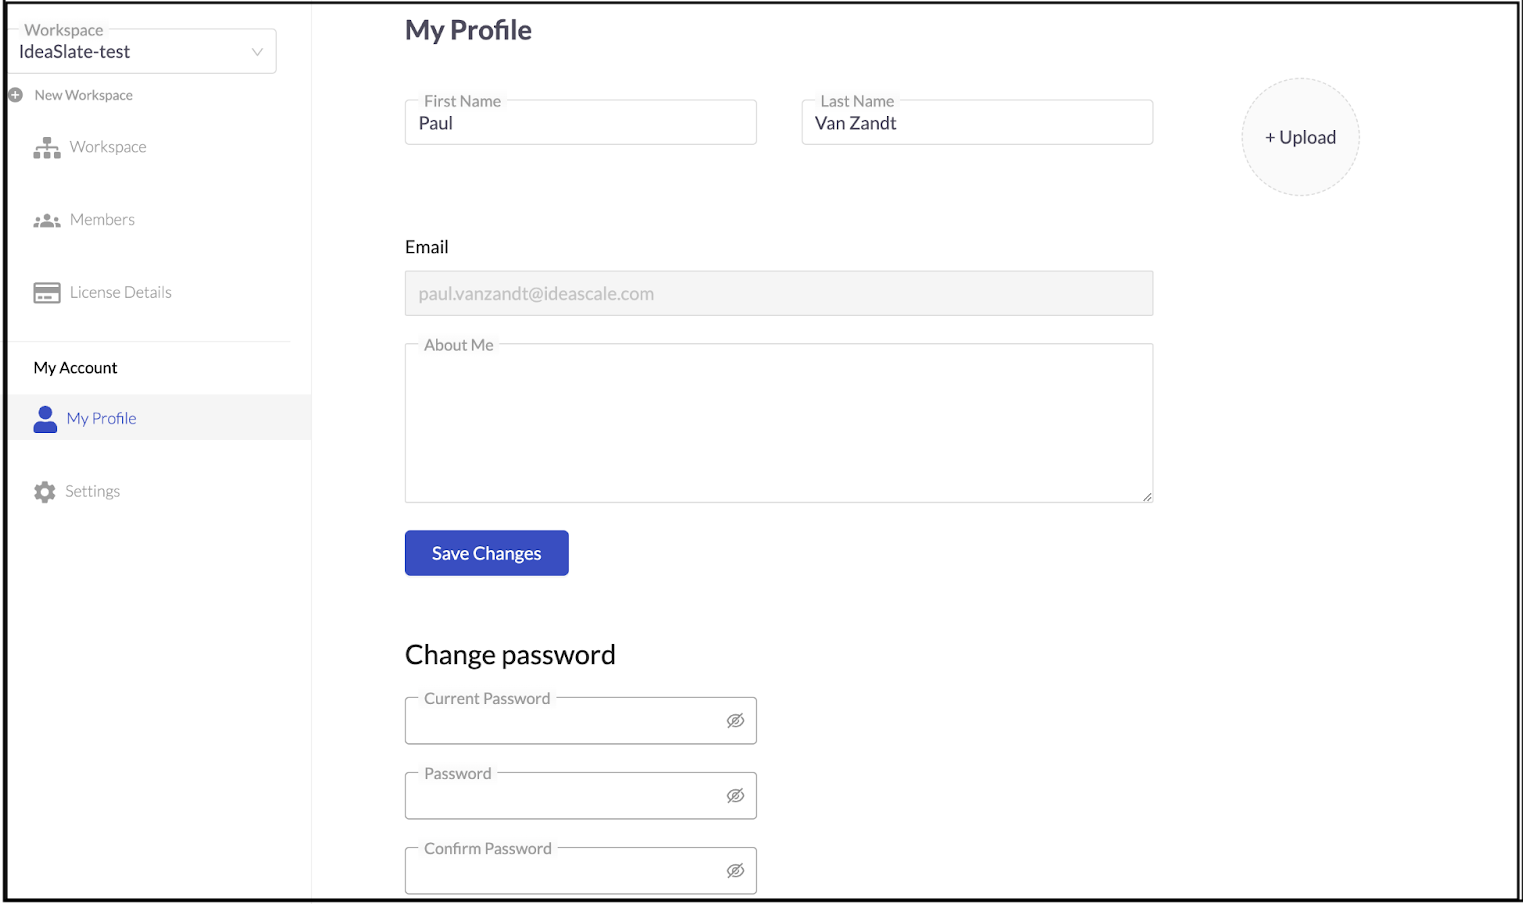
Profile
The profile settings is where you can find your IdeaScale Whiteboard profile. The profile is how users are identified on boards and in the organization, so make sure it’s updated with an accurate name and picture. Additionally, you can change the account password from the bottom of the profile page.
Note: The password settings only apply before the IdeaScale authentication is added to the login flow.
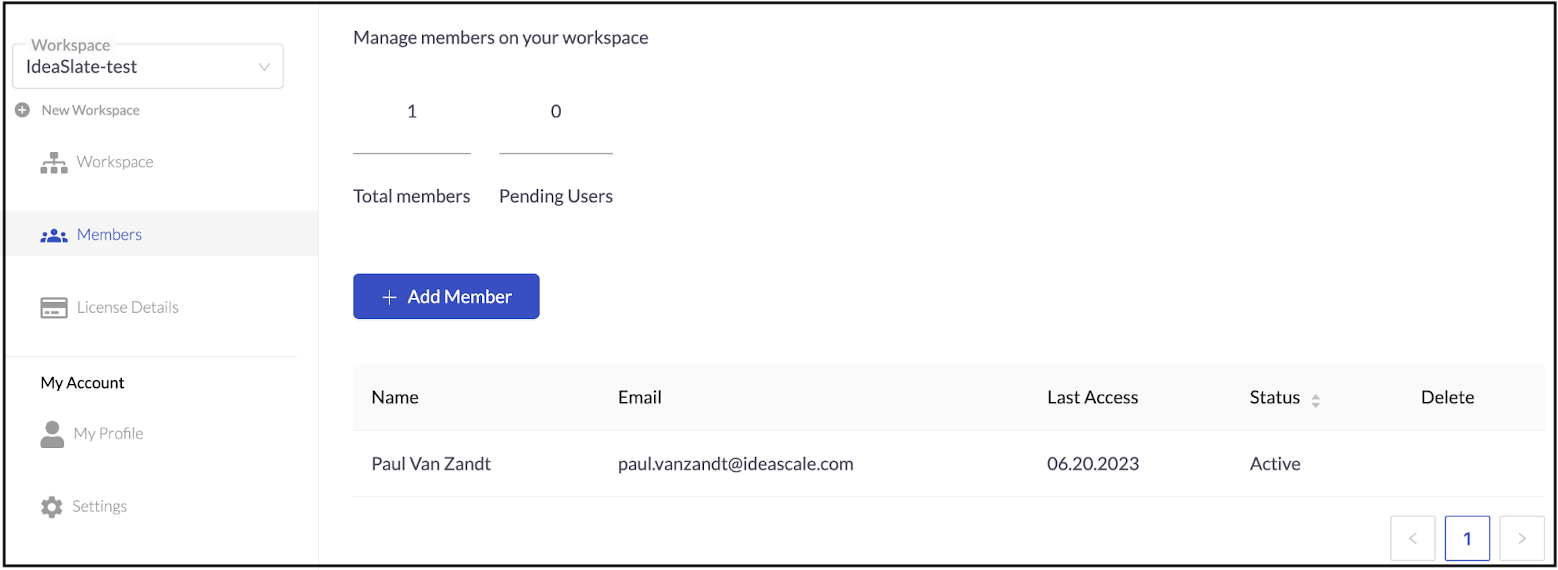
Organization Members
Another important part of IdeaScale Whiteboard organizations is member management. Members will be automatically transferred from an existing IdeaScale community, and the IdeaScale Whiteboard membership will match the IdeaScale community as it changes. The Total Members section will highlight how many members are in your IdeaScale Whiteboard organization.
User Permissions
In IdeaScale Whiteboard there are very simple layers of user permissions that can be used to grant increased access to boards or restrict privacy. In the dashboard, users will see all of the boards and folders that belong to their organization. Folders are explained in detail below and are available to the entire organization to help organize the shared dashboard.
In order to restrict access to individual boards, you need to open the sharing settings on that board and change the permissions. Each board has different access permissions for people inside the organization, and outside the organization, and depending on these permissions, those who can access the board to view or collaborate will be different. Using this sharing panel will determine who is able to access your boards and what level of privacy they will have. Boards that are designated “No Access” will not show up in the organization dashboard for those who don’t have access.