How to configure OKTA with our SSO
Configure the SP application within the Okta IdP
- Sign in to Okta
- Navigate to the Applications tab
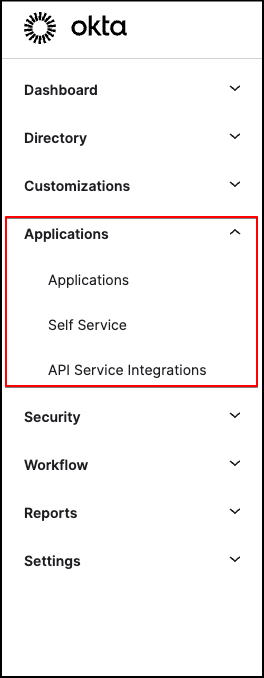
- Create App Integration

- Choose the SAML 2.0 Sign-in method

- Give the app a name and an optional logo
- Click Next

- Single sign on URL field, enter the ACS URL: https://{COMMUNITY-URL}/a/saml/sso/alias/default
- Audience URL (SP Entity ID) : https://{COMMUNITY-URL}
- You can also copy/paste these values from the community SP metadata, available at https://{COMMUNITY-URL}/a/saml/metadata
- Choose the Persistent or EmailAddress NameID format
- Optionally, add additional attributes
- Click Done
- Assign Users or Groups to the application, or enable self-service

Configuring the IdP within the Community
- Sign in to your IdeaScale community as an admin, and navigate to Community Settings >> Security >> Single Sign-on Settings
- If Advanced mode is not enabled, enable it now
- Turn Single Signon Settings On
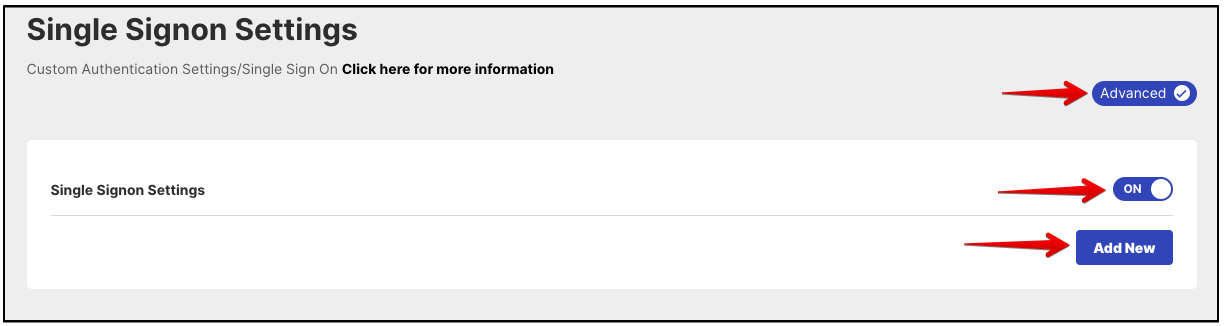
- Click Add New to add a new IdP configuration
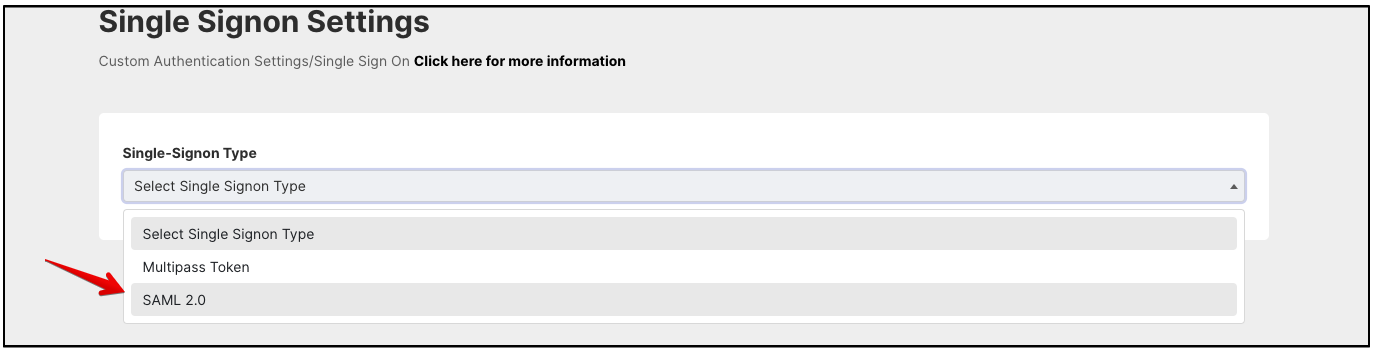
- Choose SAML 2.0 as the Single-Signon Type
- Enter a Display Name for the IdP. This name will identify the IdP in the IdP list. If you configure only one IdP, members will never see the display name. If you configure multiple IdPs, this name will appear on the drop-down or image for selecting the IdP.
- Paste the IdP metadata from the Okta Application into the SAML IdP Metadata text box
- Enter the EntityID from the metadata in the SAML IdP Entity ID field
- Turn Debugging On
- Turn Enabled On
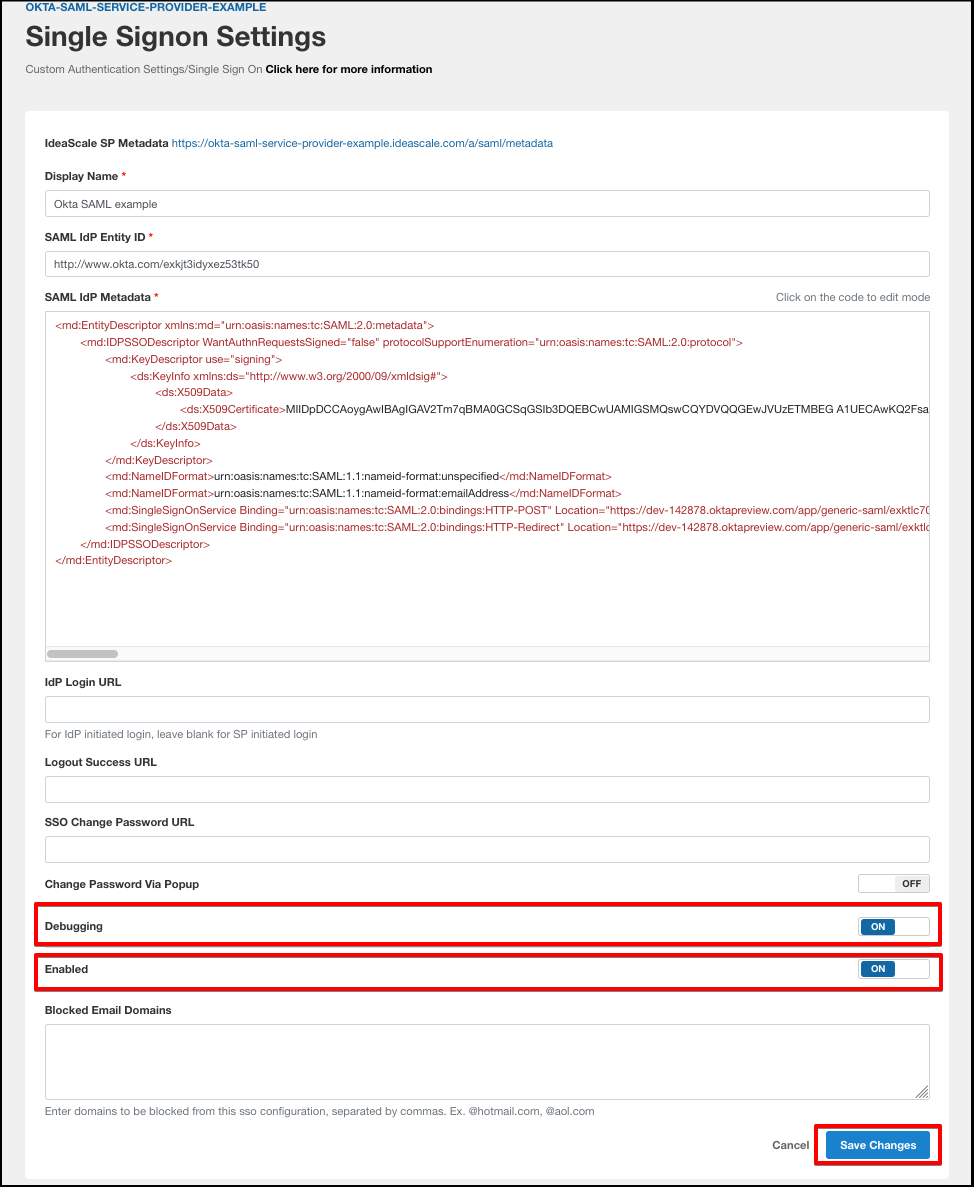
- Click Save Changes
Your IdP is now configured, and ready to test SSO