Ways To Connect Jira App With IdeaScale Community
Path: Community Settings >> Integration >> App Directory >> Jira
Our Jira integration with the IdeaScale community allows the users to track, update and follow ideas being submitted in the community. Tracking selected ideas until the implementation of those ideas. Once the integration is set up you can do much more as per your requirements. We recommend you watch the video and follow the steps for setup there otherwise follow the steps below.
Steps to set up Jira integrations:
Before starting - Ensure you have both your community opened in a browser as well as having Jira open. This will allow for the process to be more intuitive and efficient as you will need access to both in order to complete configuration.
The first main step is to login to Jira software with an Administrator account. (Only needed if setting up a new project.)
1. Navigate to your Jira Url.
2. Choose the 'Set it up for me' option, click the 'Continue' button
3. Choose 'Jira software (Data Center) license, fill up organization name, click 'Generate License' button
4. Fill email, username, password on the Administrator account setup
5. Chose language and click next
6. Create a project
The second step in Jira Cloud Software
Create Application link
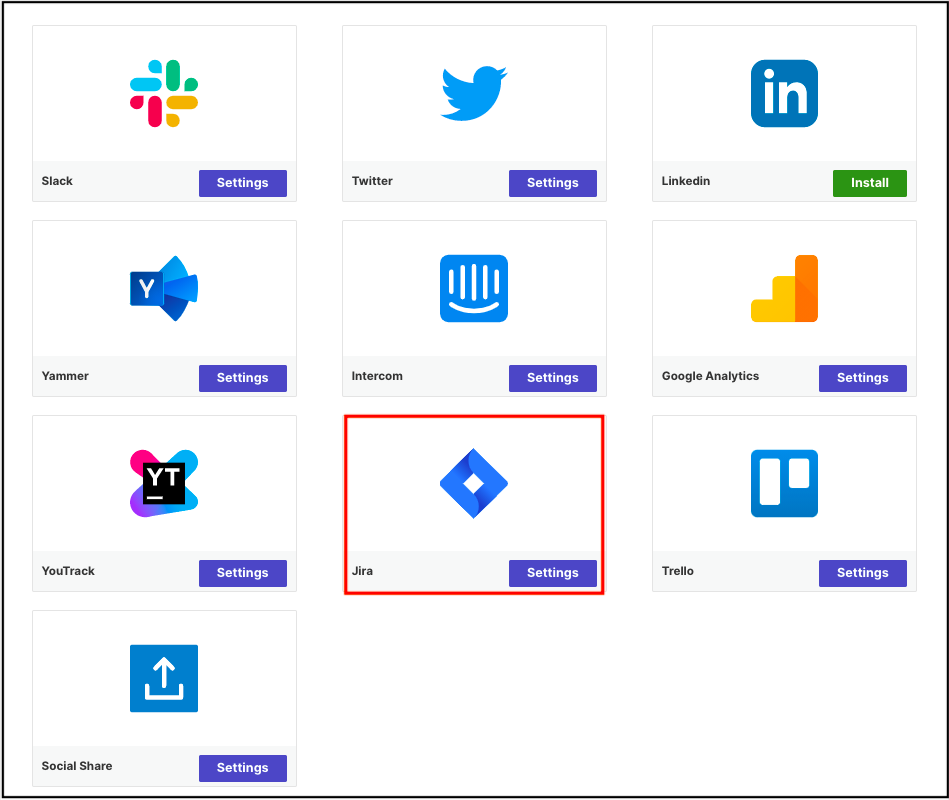
1. In Jira, navigate to Project Dashboard >> Settings>> Products
.png?width=462&height=481&name=oie_23203530OWChGECv(1).png)
2. On the left side, under Integrations >> find Application links 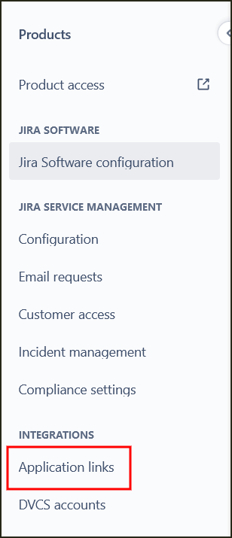
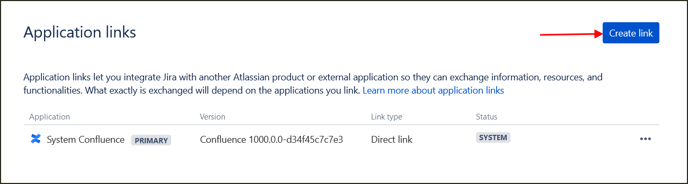
3. Create Link >> Direct Application Link >> Enter Community URL without conditional characters i.e “https://testcom1.ideascaleapp.com” >> Continue
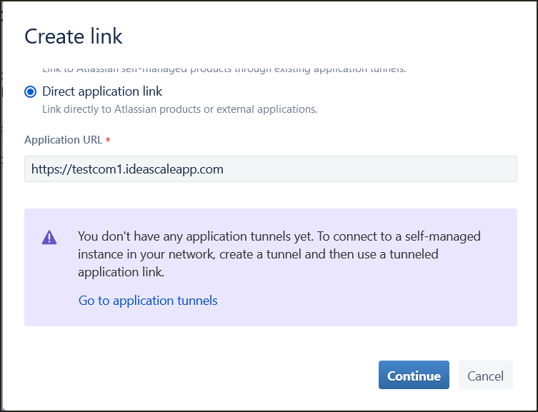
4. Error with URL still continue.
5. Enter application name (i.e. ideascale)
6. Create your own consumer key (keep simple and match with the community (i.e testkey)
7. Add the community URL to all three URL fields (Request Token URL, Access token URL, Authorize URL)
8. Select "Create incoming link"
9. Click Continue if all settings are similar to the image below

10. Then go login to IdeaScale (Admin Credentials required) and fill in URL and consumer key matching to the consumer key you setup in jira (testkey). Click generate keys and it should look like the picture below (Do not click Save and Continue yet!)
 11. Go Back to Jira and click continue and input consumer key(testkey), Consumer Name (My test key) and the public key from the last step. Click continue if it matches below.
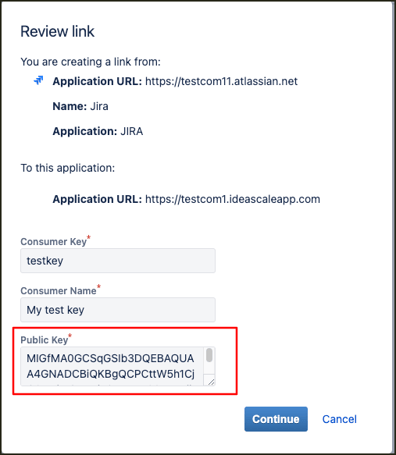
**Make sure to save in Jira. If you do not save before putting the info into IdeaScale you will receive a "Failed to save configuration” message.
12. Application Link is created successfully. 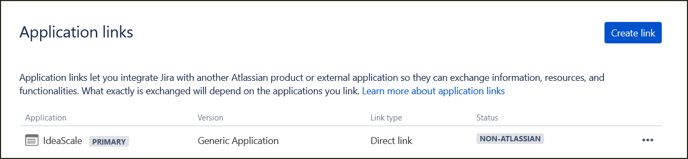
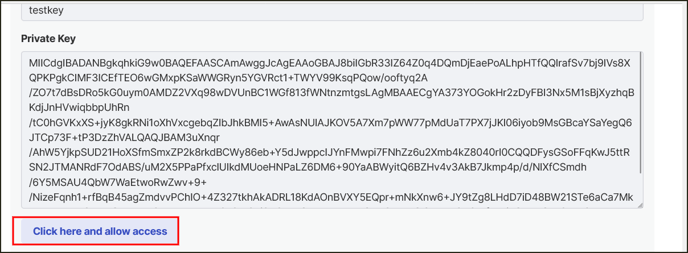
13. Go back to Ideascale and Click Save and continue. If your settings in jira were correct you will have a button that says 'Click here and allow access'. Click that button.
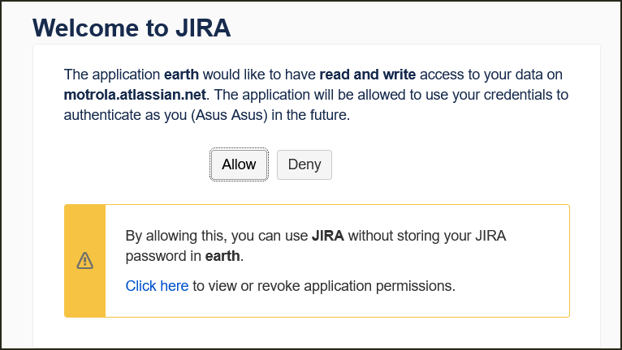
14 Next it will take you to the prompt below and click 'Allow'.
15. Copy 'Private key' from the new webpage.

16. Enter copied private key into 'Secret key box'. Save and Continue.

Move to the configuration tab to configure it for the campaign in your community. Once you have the Projects and Ticket type created this would reflect under the Configuration tab for the admin to select and Save. If you wish to have Jira integrated for multiple campaigns select the appropriate Project and Ticket type and click on the Save button.
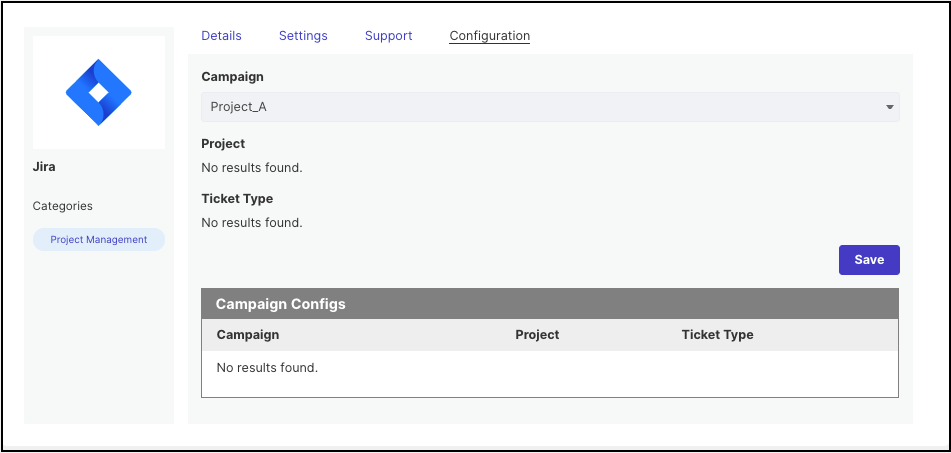
You can also easily remove the configuration from the Settings tab by clicking on the Remove Configuration button.
Configuration is complete. To get data over to your jira account you need to move the idea into a "Selected" stage. You can decide which stages are "Selected" stages by going to your funnel management in your admin panel, edit your funnel, and add "Selected" to one of your stages as seen below:

Move one of your ideas into the "Selected" stages and it will automatically put that idea in your Jira Project. (Note you can't have the same name as an existing issue in your Jira account otherwise you will get an error)


For more information see videos below.
Setting up Jira Integration
How to send your Selected ideas to Jira for implementation