Creating a community in IdeaScale is a turn-key solution that can be set up in 5 minutes. That being said, there are a few more advanced features that may take a bit longer to configure. These include SSO, CSS, custom domain, and white-label. Contact sales@ideascale.com to learn more about these options.
Registration Process
In order to create a community from our website, please follow the below steps:
1. Click on the Login link and register from our website: https://ideascale.com/.
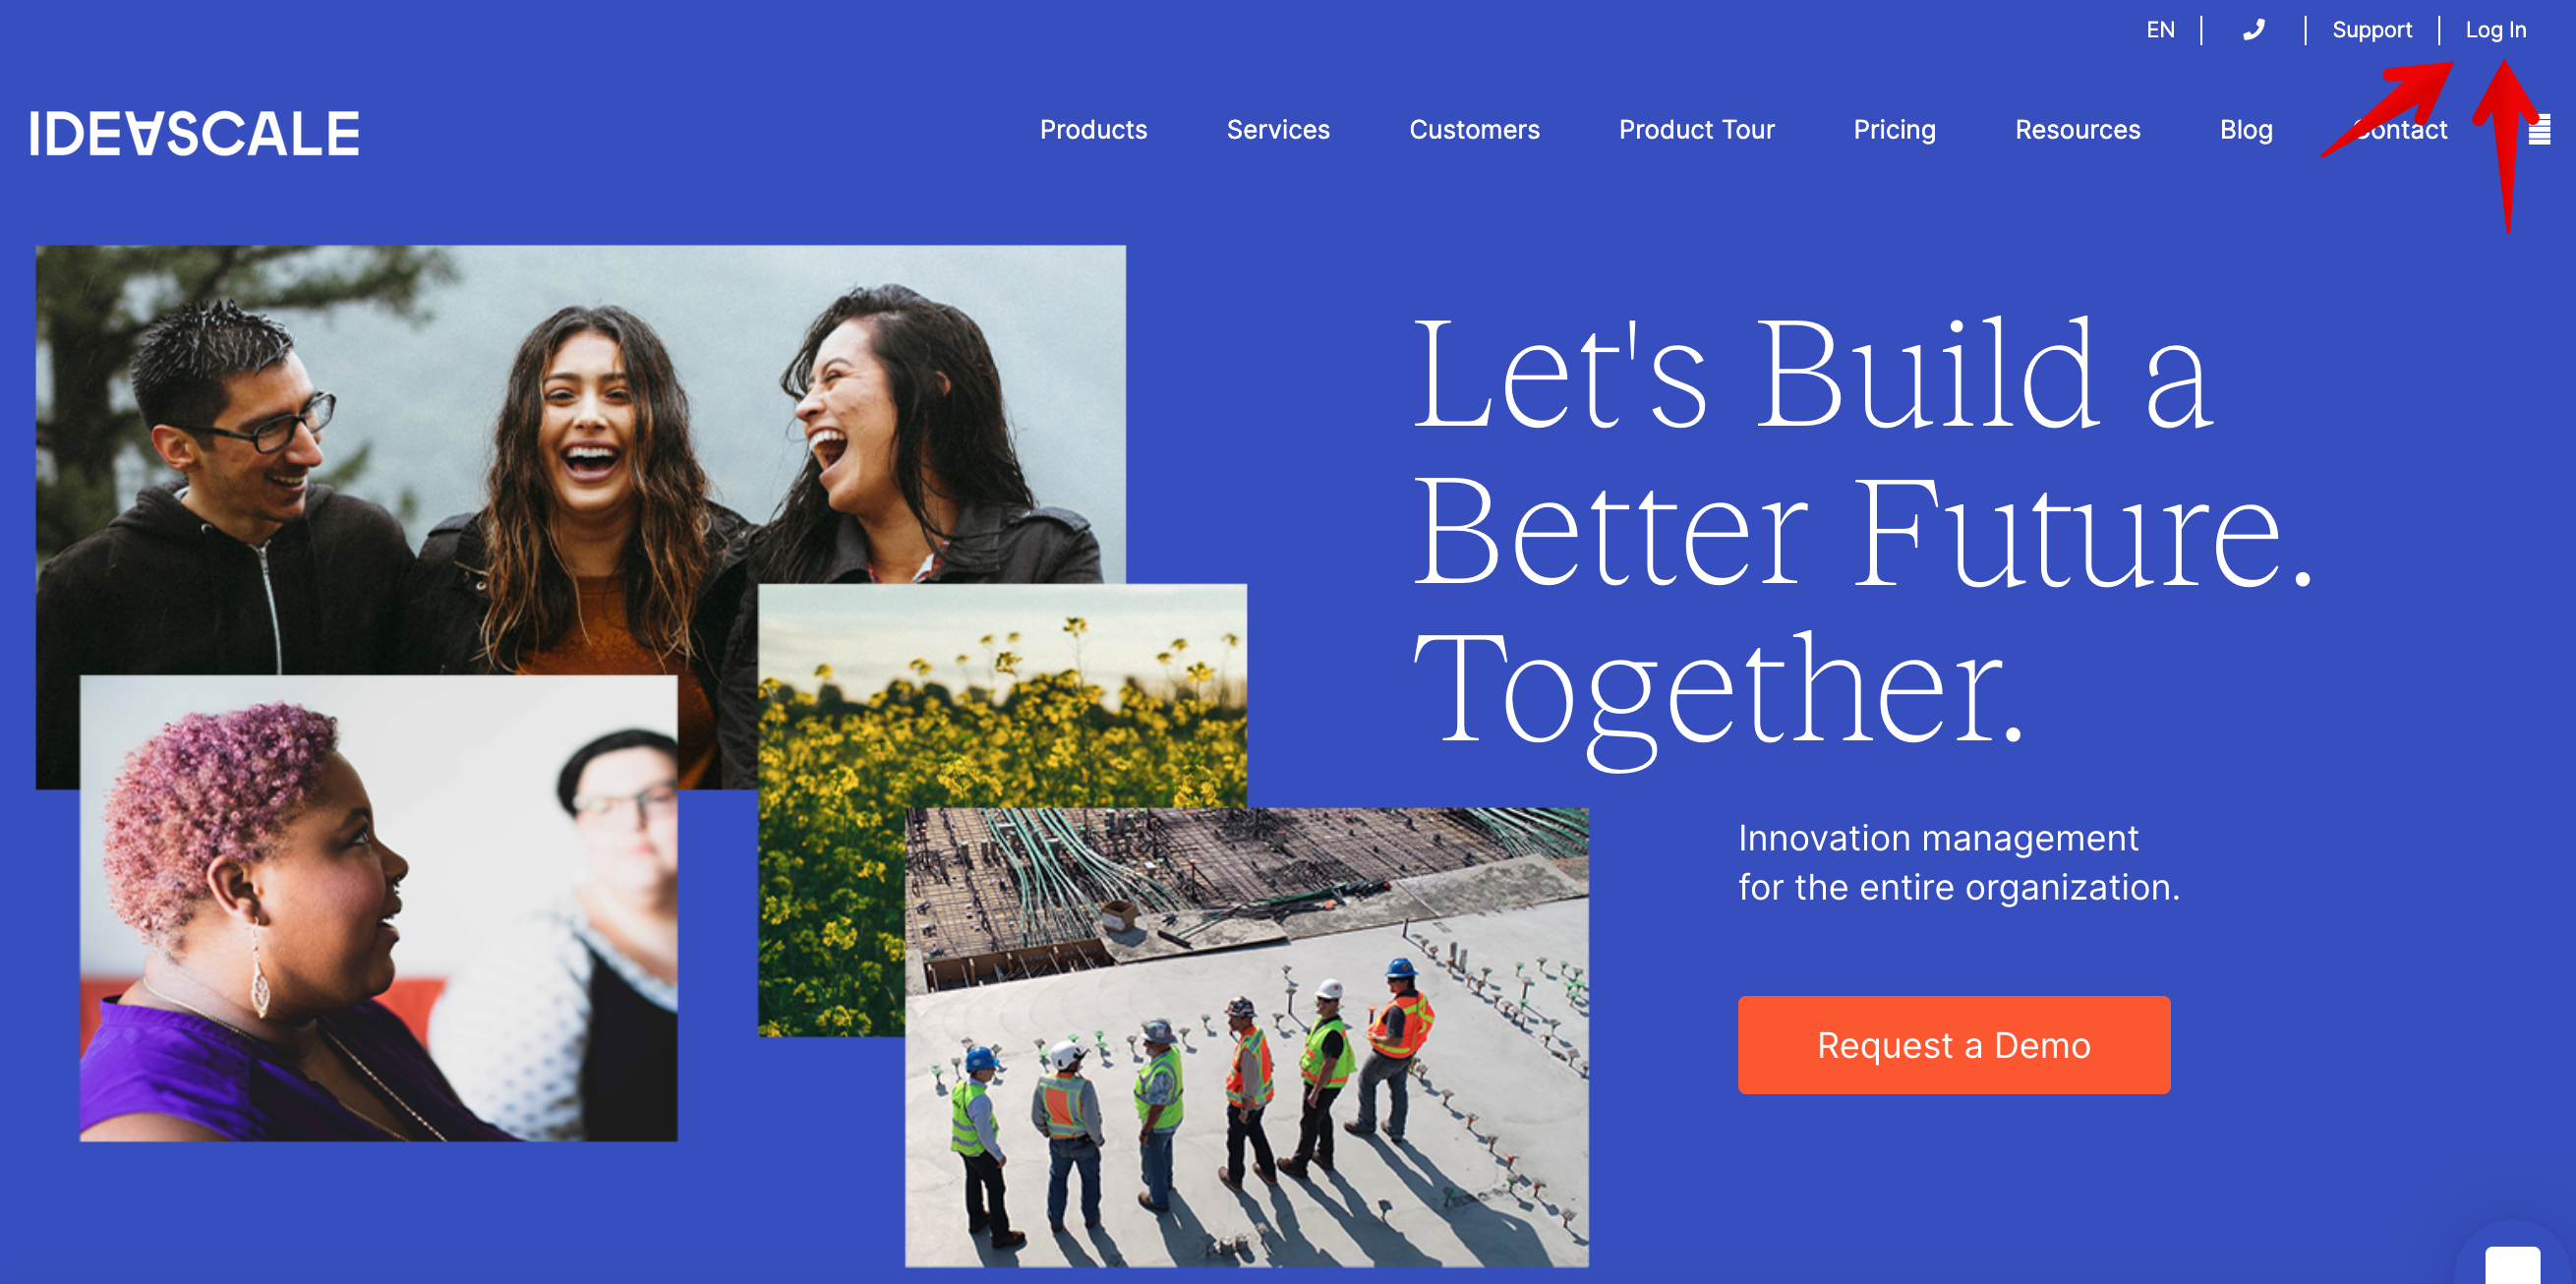
2. Next you will be taken to the login screen. From here select 'Register'.
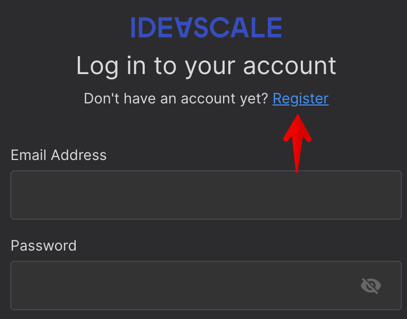
The register link takes you to the page where you can register using various accounts or using your email address that you would like to be associated with this community.
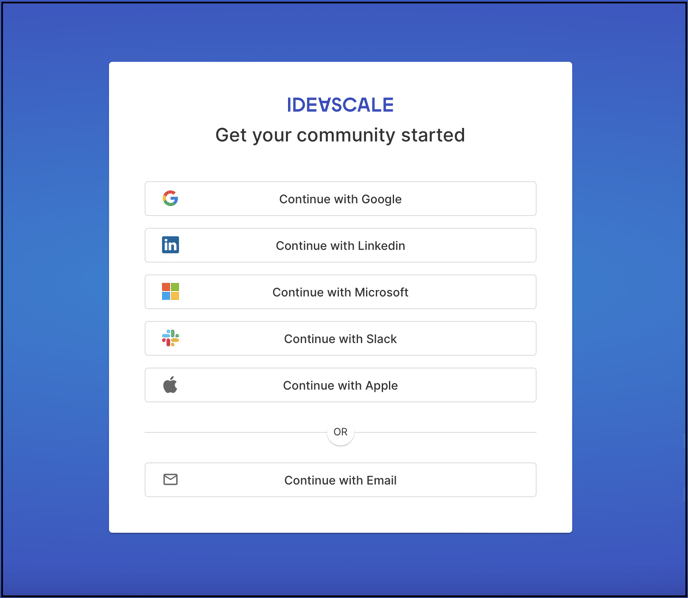
Continuing with Email will bring you to a page where you are requested to accept the Terms and Conditions of the platform and then taken to the page Lets get started.
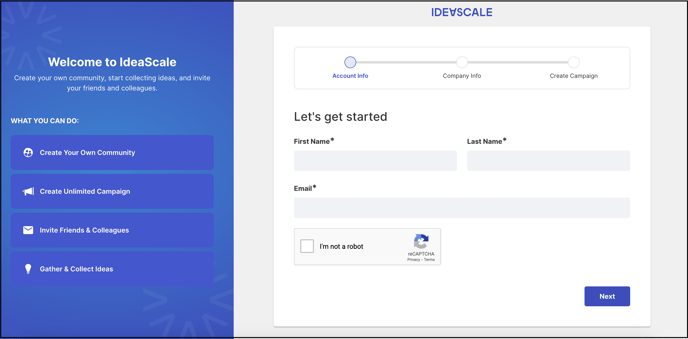
Here you would need to add in the required information and this will send you a verification email to the email address added.
Once you have verified your email address you will be taken to the second page. 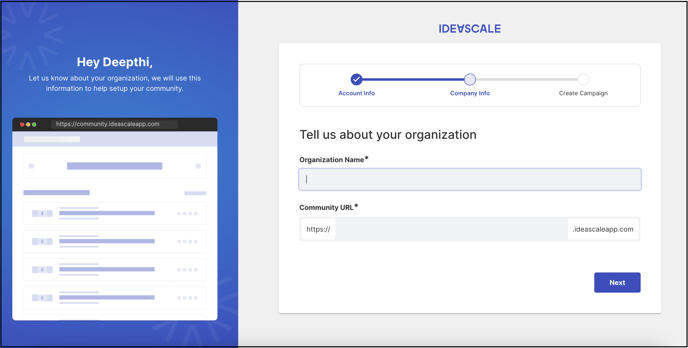
The company info page is the last step in creating your community.
After this page you are ready with a community and the last final page will help you set up a campaign for your community.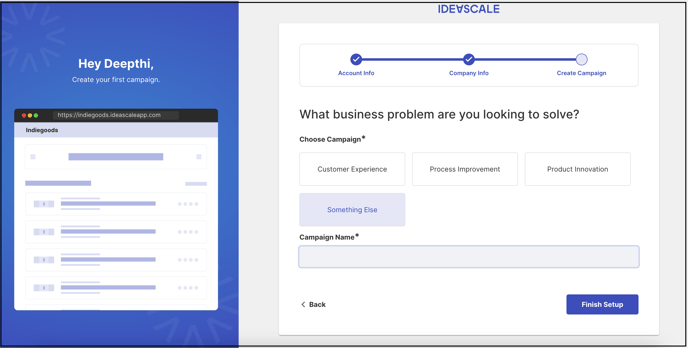
After you finish the setup of the community you will receive a success message.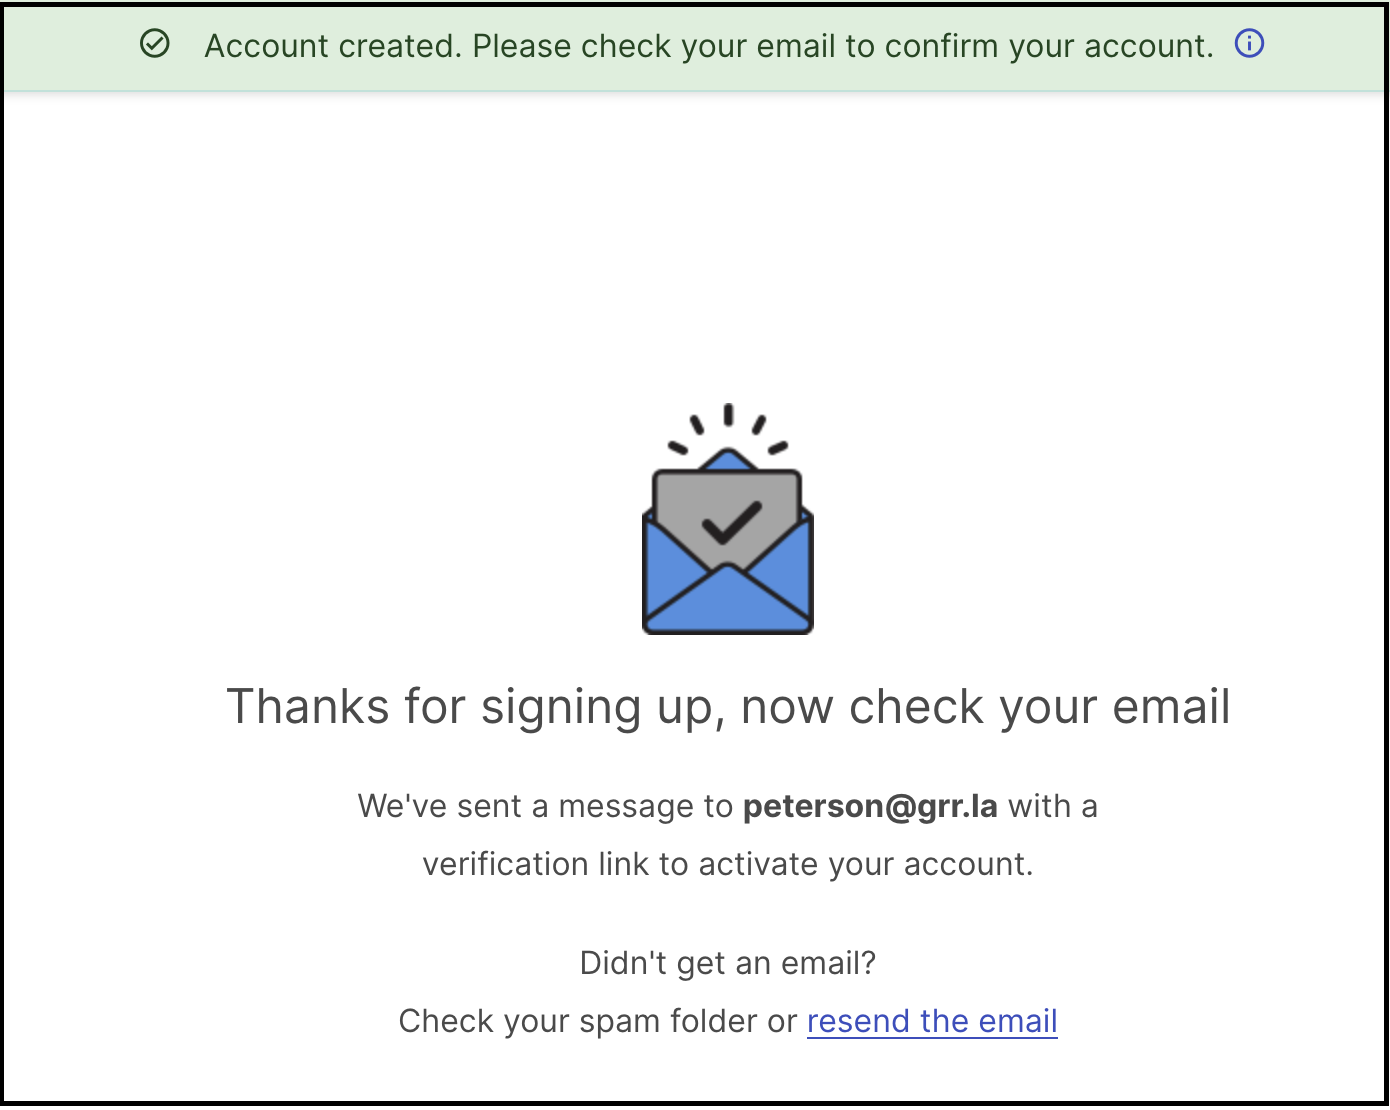
Click on the link within the email received and enter the 6-digit passcode in the field that appears.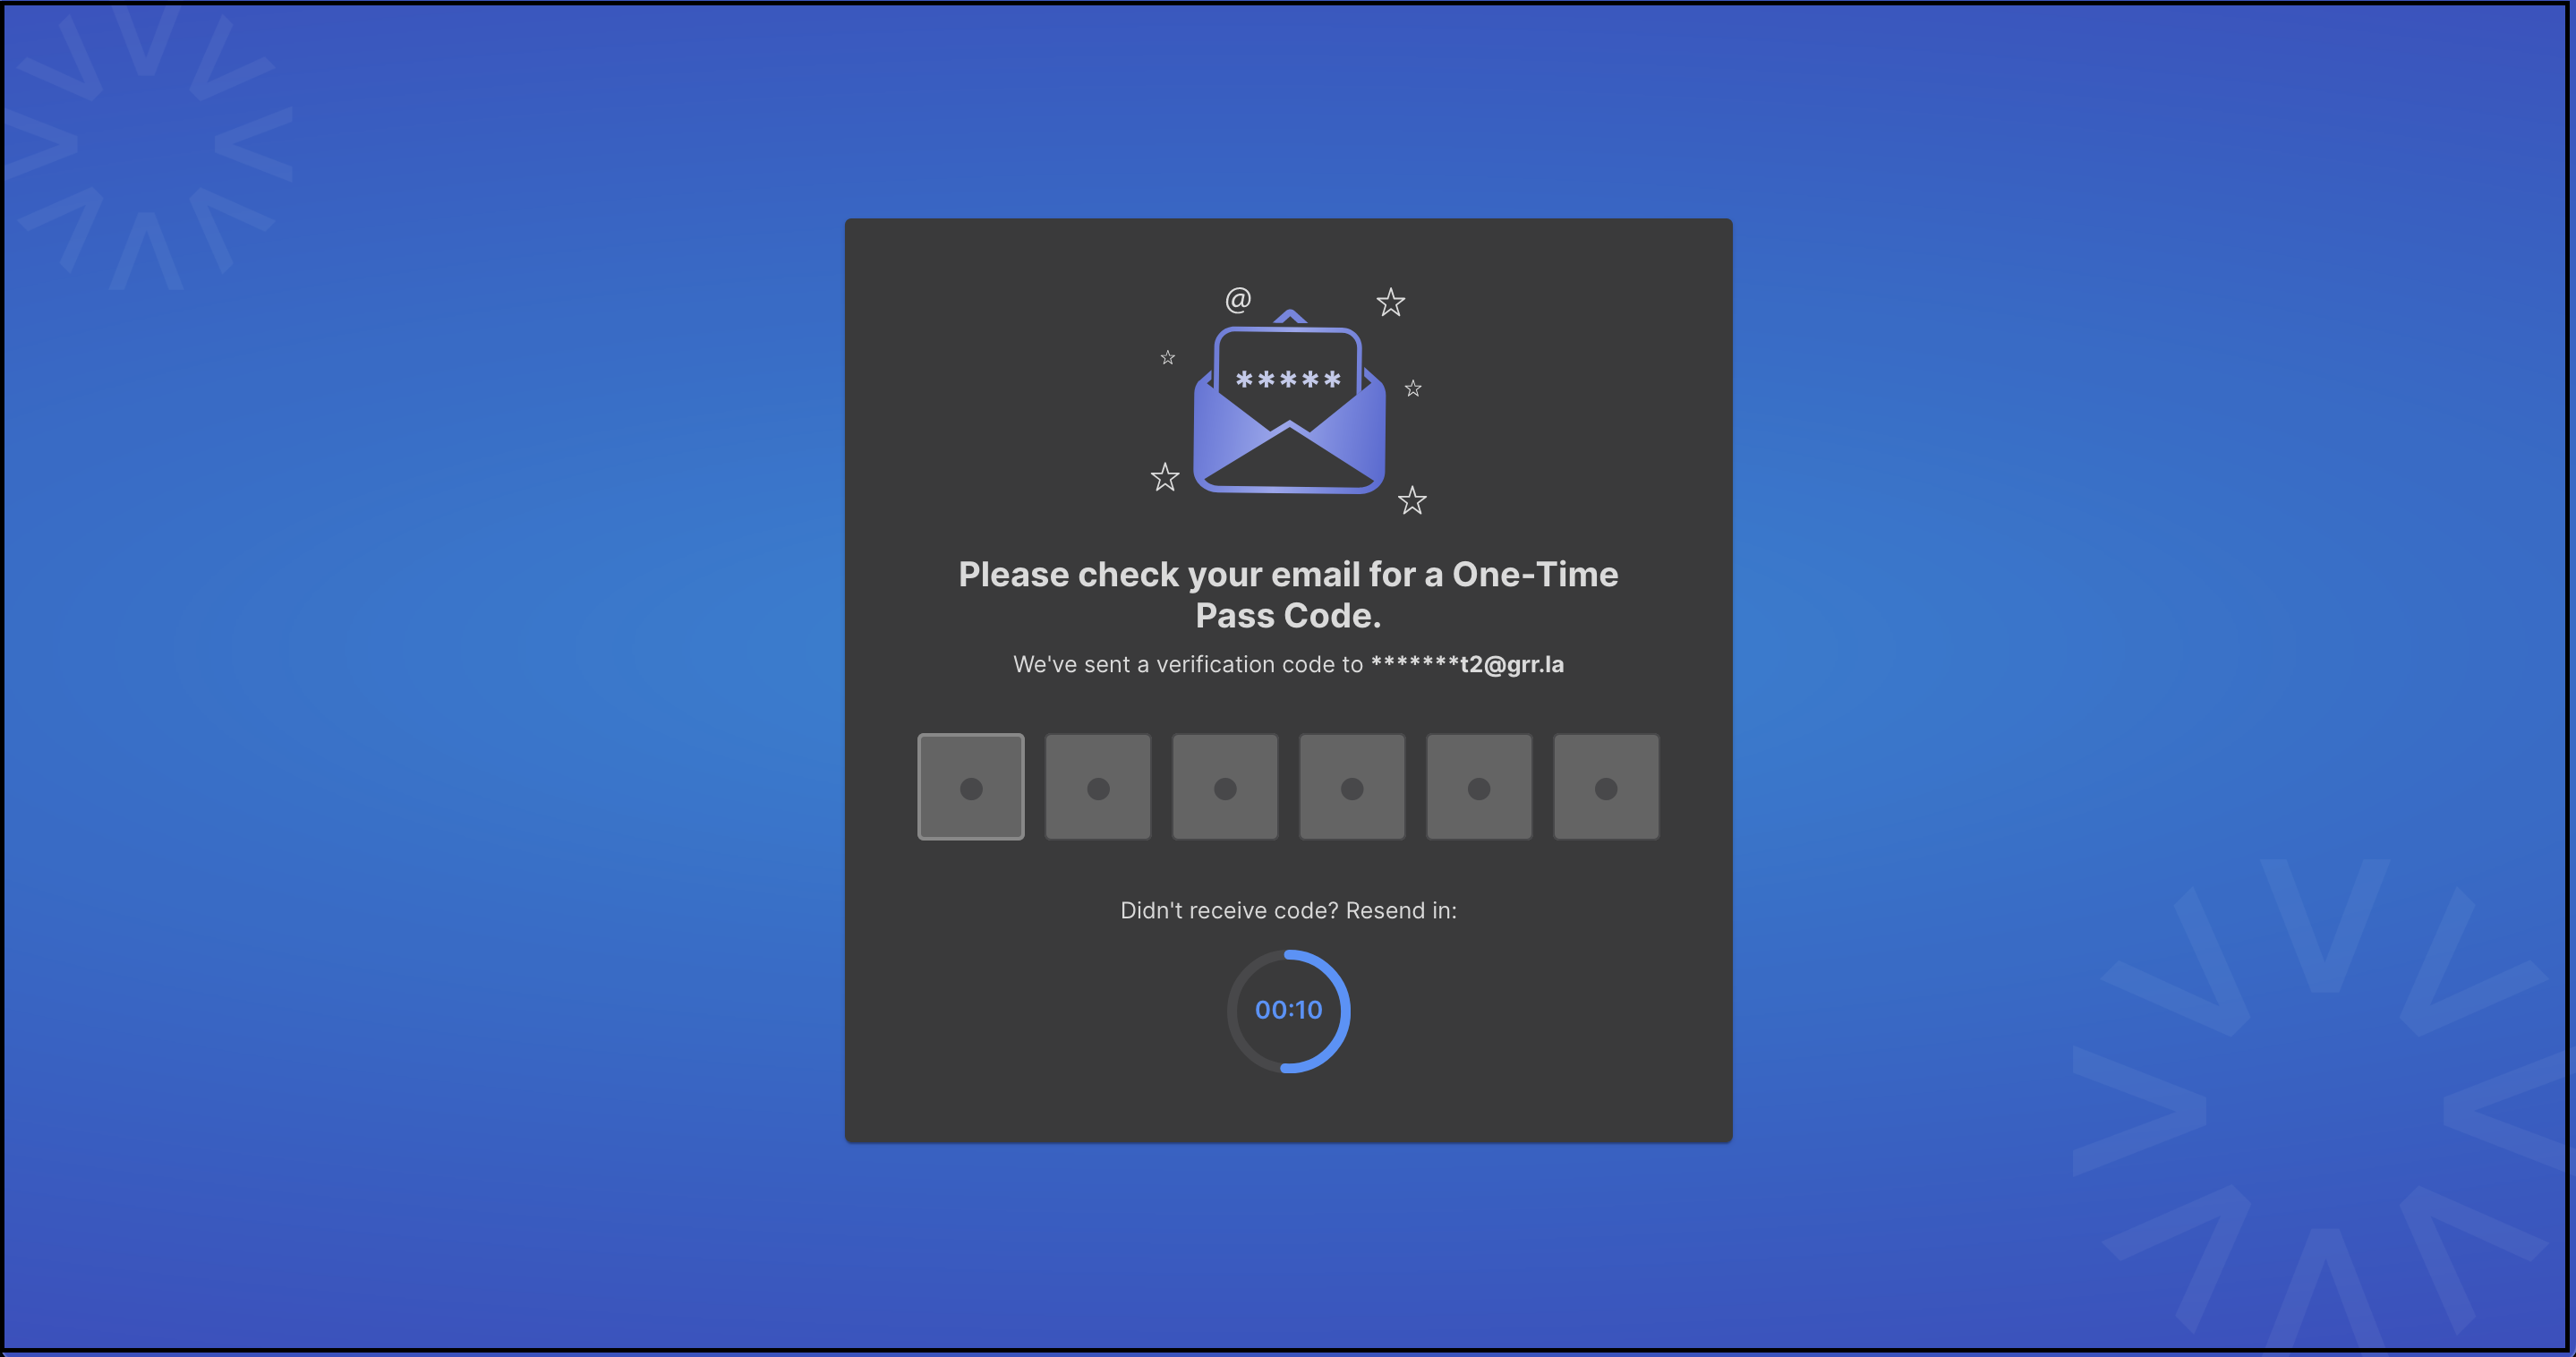
Once done go ahead and login to the community using your newly created login credentials.
Our New Free License, allows you to keep the community active as long as there is activity taking place in the community. In case the community is dormant for more than 90 days then the account gets blocked. After 100 days of inactivity, the Community associated with the Free and Evaluation License will be marked as canceled and permanently deleted from our system.