Best practices and tips for customization settings and features.
Below are some best practices and tips for how to get the most out of our customization settings and features.
- Carousel
- Sidebar widgets
- Custom sidebar widget
- Logo
- Idea view
- Topbar logo
- Campaign logo
- Campaign banner
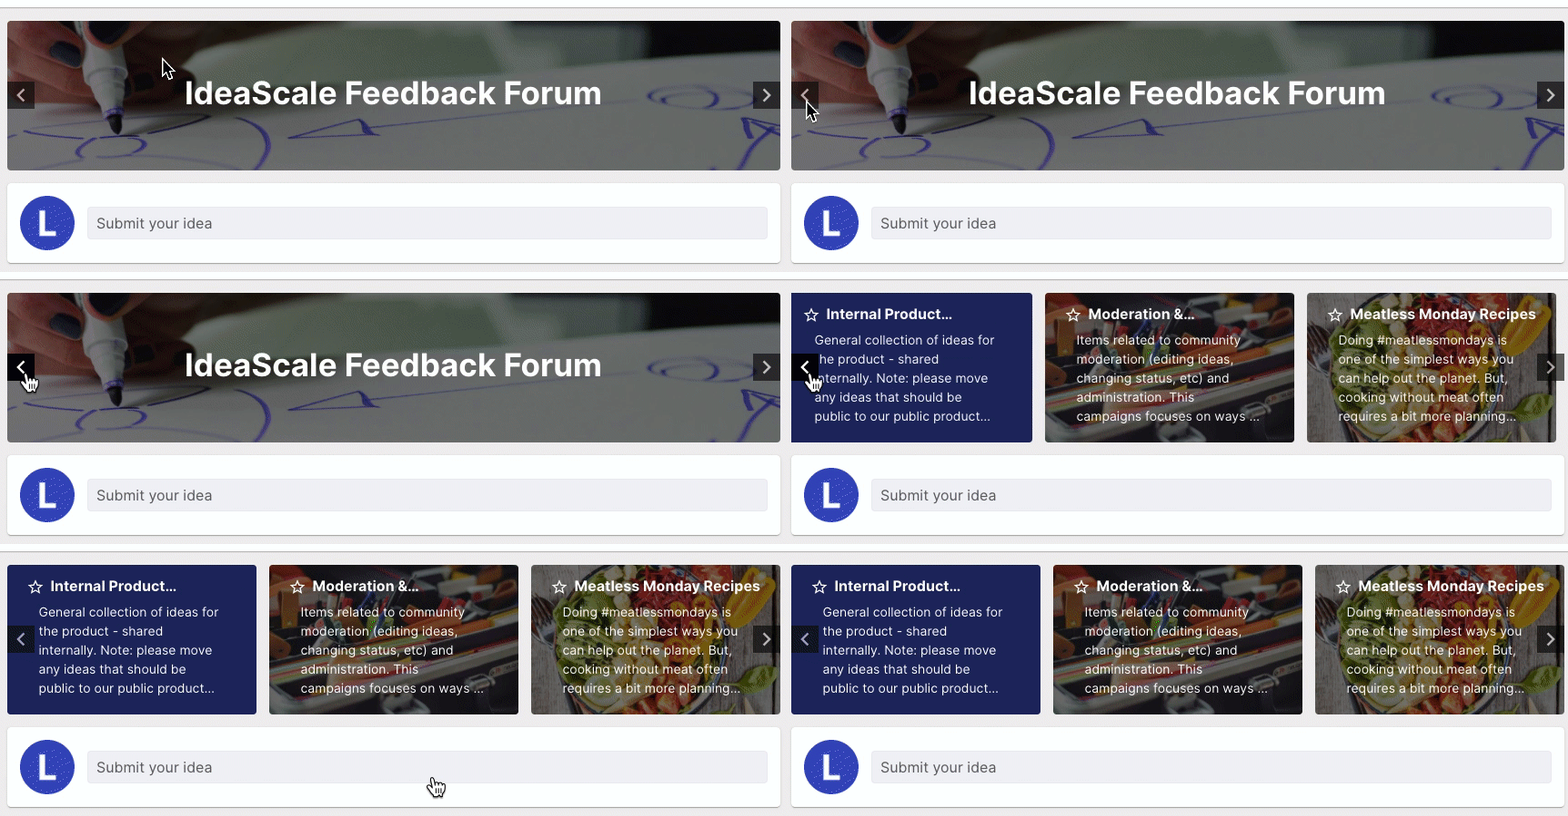
1) Carousel: This is a slide on your Home Page. The first slide shows your Community's Name, Subtitle (if you have one), and the Community Banner. Then the carousel will show the various active campaigns running.
-
To change your Communities Name and Subtitle navigate to General Settings > Community Info > Community Setting.
-
To change the Banner (also used in the top area of the 'Leaderboard', 'Profile, and for any Custom Pages you have) navigate to Customization > Look & Feel > Banner Selection. For the Banner, we automatically darken your image on the carousel to ensure your communities name stands out.
Your communities name will be bolded and in white, so pick an image that will contrast well with it. We recommend using an image that features darker colors. You can also blur the image to help the language stand out. Another option is you can use color casting over the image (example below) to help the words stand out.


-
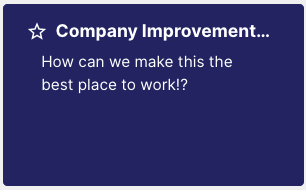
We always recommend having a Campaign Featured image to personalize the user's experience! Navigate to Campaigns >> Manage Campaigns > Pick the campaign > Basic Information. In this area, you can update what end users see in the carousel including, the Name of the Campaign, the Question/Challenge Statement, and the background image (Campaign Featured Image). This image will also be shown in the About area of the Campaign pages next to the title and the description.
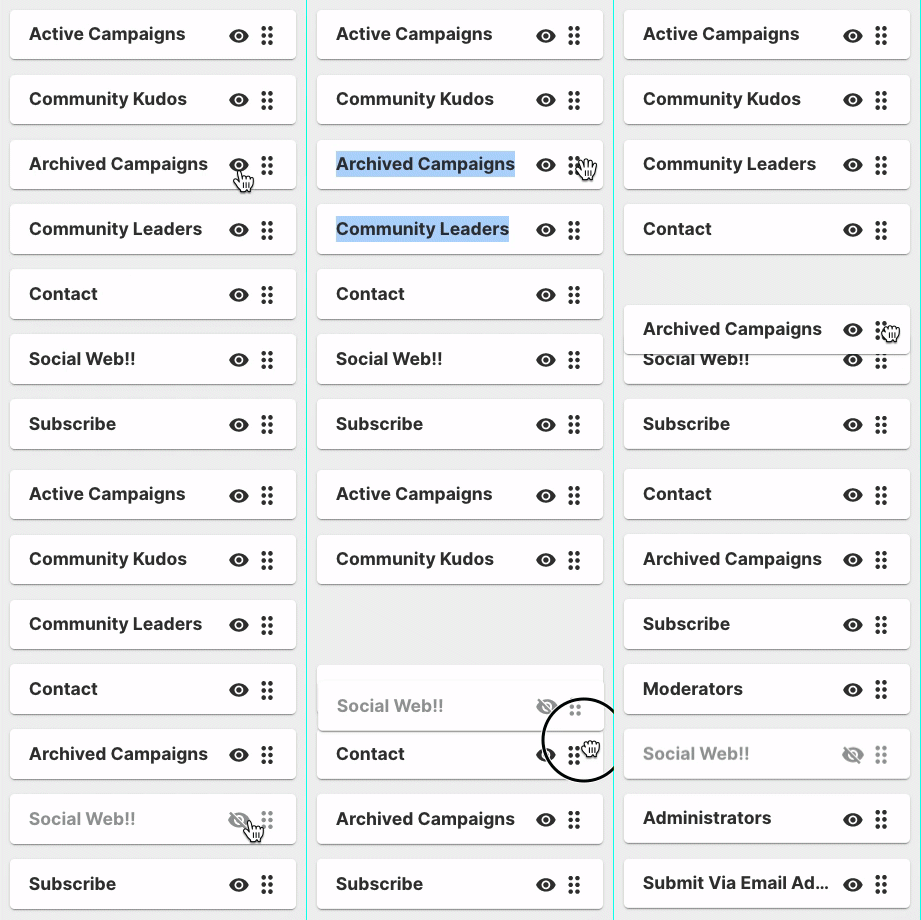
2) Sidebar Widgets: the sidebar has various widgets that you can move around or take out completely if you would like. Just click 'Edit Mode' to make changes. Don't forget to hit 'Save'!
You can have different sidebars for your Home Page and for each Campaign Page.
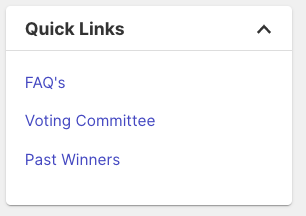
3) Custom Sidebar Widget: There is a 'Custom' widget that you can use for whatever purpose you like (our favorite use case is for 'Quick Link's). This widget has a rich text editor to make it easy to bold text, add bullet points, hyperlinks, etc. There is currently only one custom widget that can be used across all pages.
4) Logo: The logo can be seen on the top left-hand corner (over the community banner) on all Custom Pages, the Leaderboard page, and the Profile pages. We recommend a transparent PNG. If no Campaign specific logo is chosen - then this will also appear on the top of the Campaign Pages. Change this image here: Customization > Look & Feel > Logo
Did you know you can hide the frame of your logo by using a Transparent PNG? This works great if your logo is a circle or another shape! In the Look & Feel Settings in the Logo section turn on the toggle 'Hide the logo's frame'.

You also can remove the logo entirely (see screenshot below). This will also remove logos on the campaign pages (even campaign-specific logos). Change this here: Customization > Customize Site Behavior > General > Display community logo in community banner.


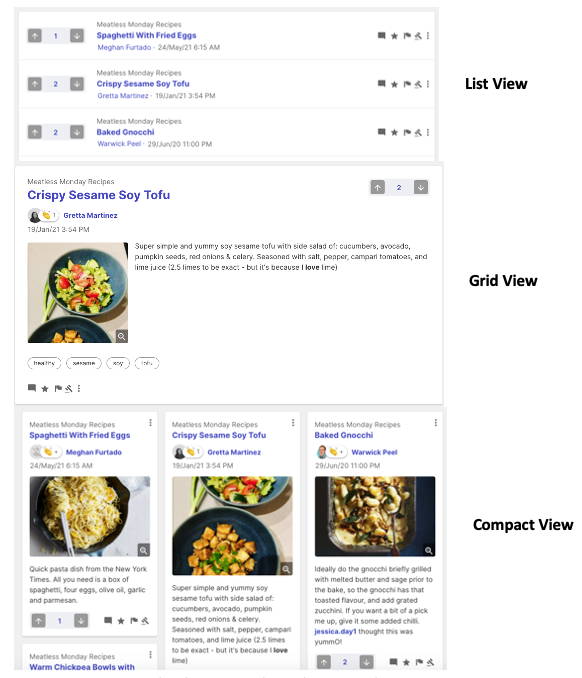
5) Ideas View: You can set default views for users viewing ideas within your campaign pages. You can choose between; List View, Grid View, or Compact View (screenshots below). Setting a default filter for how ideas are organized is also possible! Your options for the filter are; Trending, Recent and Popular. Change this here: Customization > Customize Site Behavior > General > Default View & Default Ideas Filter.
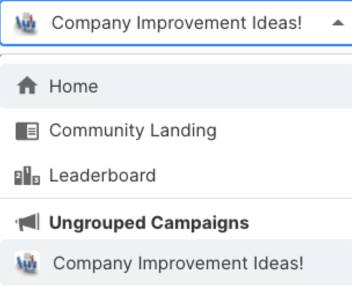
6) Top Bar Logo: This logo lives in the top bar next to the navigation dropdown. Change this image here: Customization > Look & Feel > Custom Topbar Logo

7) Campaign Logo: This is a logo specific to a campaign. It will appear on the top of the page over the campaign banner and next to the campaign name on the drop-down navigation bar. Change this image here: Campaigns > Manage Campaigns > Pick the campaign > Basic Information

8) Campaign Banner: This banner is on top of all the specific campaign pages. Change this image here: Campaigns >> Manage Campaigns > Pick the campaign > Basic Information or simply use the Edit Mode to update the image.