Steps for new community creation under Workspace
Creating a community in IdeaScale is a turn-key solution that can be set up in 5 minutes. 
Login to the workspace as Workspace administrator and click on the Create Community button on the right to open up the Create community page.
Community Info
The first section consists of Community info. Workspace admin will need to fill in the following sections for the initial setup:
- Community Name
- Community URL
- Community Logo
- Community Banner
- Community Description
- Privacy
- Choose Campaign

Community Name

Entering the name to be given to the community will auto populate the url for the community. Workspace or Community admin will be able to change it later, if needed, from Edit mode option under Profile dropdown on the Community homepage. Help Article on Edit Mode
Community URL
 Enter the unique word to represent the community in the community key field that will be the URL extension of the Workspace. The community prefix cannot be changed. It is common for all the communities within the Workspace.
Note: Only alphanumeric characters and hyphens (dashes) can be used in the Community Key.

Community Logo

Add a logo to represent the community. To upload it,click on the Browse file or Drag & Drop to browse the logo on your computer or simply drag drop the image and adjust the size using resizer. Help article on Image resizer
Alt Text: Add an alternate text for the image. If the image fails to load, alternative text will be displayed instead.
Community logo will be visible upon Community banner on community internal pages like Leaderboard and Custom pages. It will also be visible as a community icon/logo in Topbar Community dropdown and Profile section - Notification settings, Your communities and API Tokens.
Community Banner

Add a banner for the community. To upload it, click on the Browse file or Drag & Drop to browse the logo on your computer or simply drag drop the image and adjust the size using resizer. Help article on Image resizer
Alt Text: Add an alternate text for the image. If the image fails to load, alternative text will be displayed instead.
The banner will be visible on the Community homepage and internal pages. It will also appear as the Community image on the Workspace homepage.
Community Description
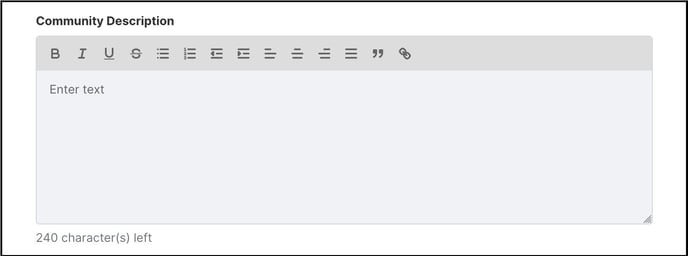
Description is a subtext or tagline for the community. It will be visible under the Community name on the Community homepage.

Privacy

Workspace admin can choose Private option to restrict the community visibility only to members or Public option to make the community visible to anyone. Help article on Private Versus Public Community.
Choose Campaign

Choose anyone of the default campaigns or create custom campaign for the community to start with. Choosing Something else option will open up a Text field to name the custom campaign.

Click on Next button once all. the above fields are completed.
Subscription
The next section in community creation process is Subscription.The subscription is pre-selected where the community is to be created. Read and accept the Terms of use by clicking on the checkbox and click on Finish button to complete the community creation process.

System will give a success message and next course of action to be taken.
Back to Home: This button will navigate tot he Workspace homepage.
Add Members: This button will navigate to the Community member management dashboard. Help Article on Community Member Management.

Community on Workspace

Once the community is created, it will be visible on the Workspace homepage as the first community. If there is any favourite (heart icon) community added, the new community will appear after that.