Create & manage user groups
Using IdeaScale’s SSO there are two ways to map Attributes and create/manage User Groups
-
Groups can be ‘mapped’ directly to IdeaScale using your IdP. In this case, your IdP attributes will automatically create your groups and add members to them.
-
Ask profile questions and configure groups based off of the questions. Then enable the 'Auto-Assign by SSO' feature.
Mapping Directly:
Go to: Community Settings --> Single Signon Settings
-
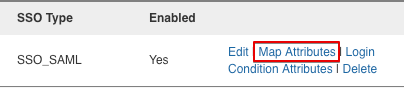
Under Single Signon Configurations there is a ‘Map Attributes’ link
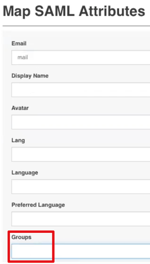
2. This is where you will add the groups that you would like to use in your community. The group name will look within your SSO assertion for the name or friendly name that you enter. If you enter multiple values the system will look for each one and create a group if needed. As community members use SSO to login to your community they will either be automatically added to the group or the system will create a new group when needed.
Example group names: Admin_Group, User_Group
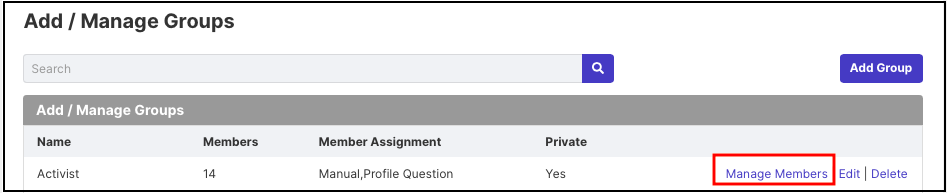
You will be able to override the members within an IdP mapped group if necessary by going into the Community Settings >> Member Management >> Groups settings. Screenshot below.
Auto Assign by SSO in the Group Settings will turn on automatically when someone logs in via SSO and is added to that group. You can not turn on/off this setting.
Mapping by Profile Questions:
Part 1
Go to: Community Settings --> Member Management --> Member Profile questions
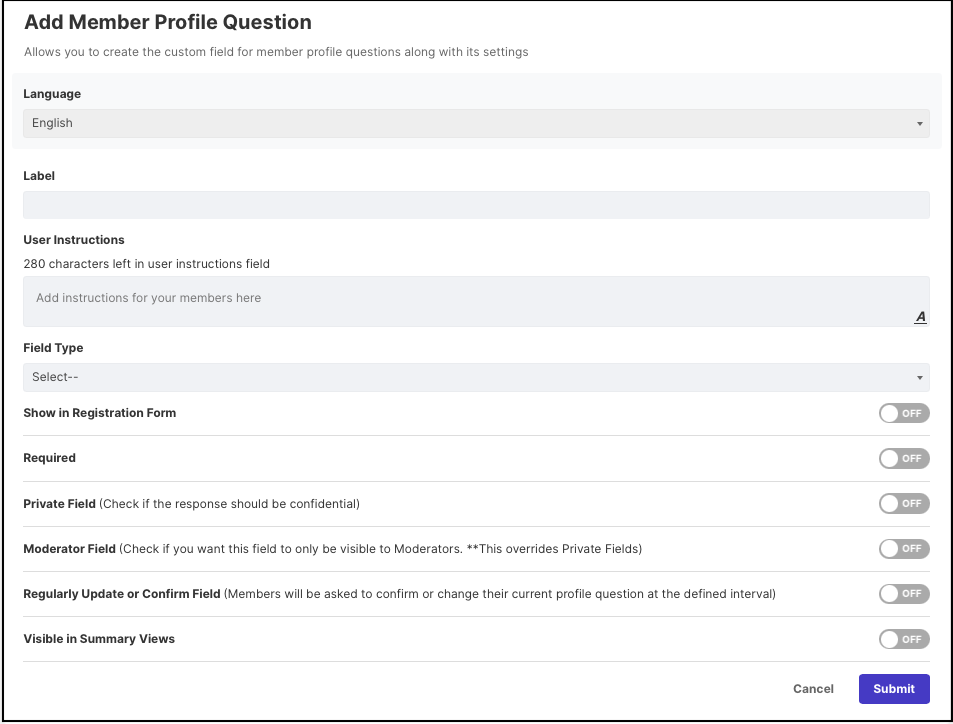
Below is a screenshot of the panel used to create the profile questions. Profile questions are designed to capture information about each user. When this feature set is paired with IdeaScale’s group function (instructions in Part II below), users will be segmented into groups according to the response given for each profile question.
-
Label - the question asked to users (example: What department are you in)
-
Expected Response Type – what type of answer a) Typically for SSO populated profile questions, single-line text is better (because single choice requires all the valid options to be predefined)
-
Show in Registration Form - This serves the question to the user during the registration process. This field is not relevant to this article because users will not register (they will sign in with SSO) and the SSO configuration will result in the questions being answered anyway.
-
Required – enable if users must respond to question
-
Private Field – enable if response should be confidential
-
Moderator Field – enable if you want this field to only be visible to moderators, this field will override private fields
Part II
After creating the profile questions to go: Community Settings --> Single Signon Settings
-
Under Single Signon Configurations click the ‘Map Attributes’ link

2. This is where you will map your attributes to create groups based off of the profile questions.
Part III
After enabling SSO, go to: Community Settings --> Member Management --> Groups
-
Here is where you will create the user groups
-
Under general settings, you will create the group’s name and update other settings
-
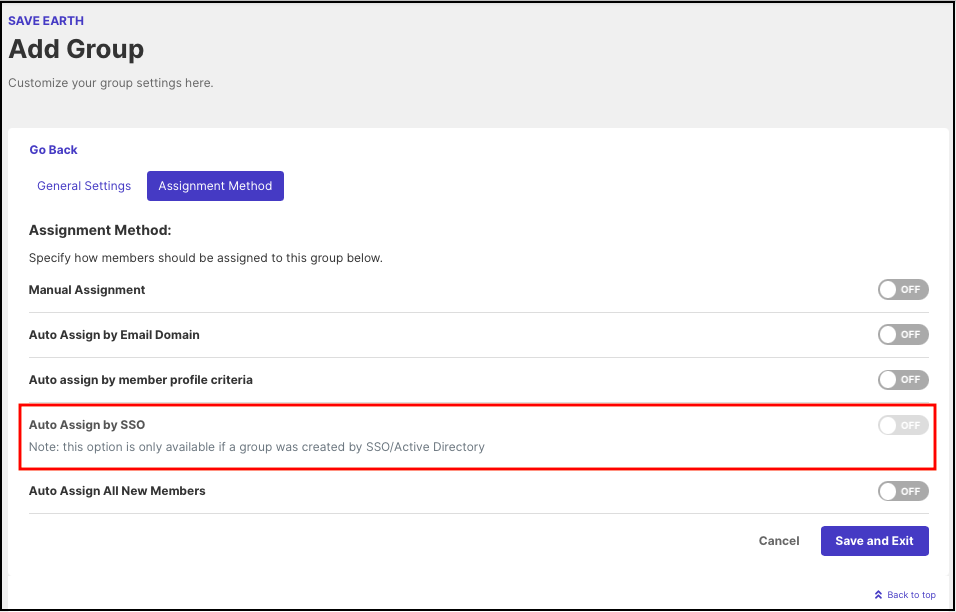
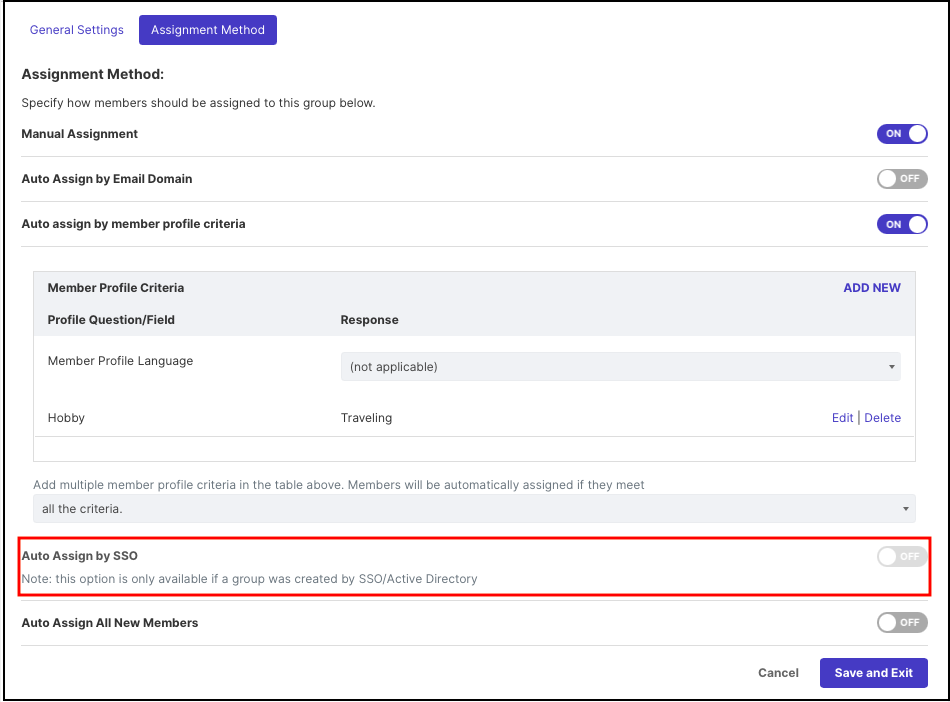
Toggle to Assignment Method (screenshot below)
-
Enable ‘Auto Assign by SSO’ (this toggle will not appear if SSO has not been created yet)
-
Choose what response from the profile question is needed for the user to be automatically added into this particular group.
Under ‘Groups’ you will also be able to manage the members within the group and see how many users are in a particular group.