Location: Community Settings >> General Settings >> Emails and Notifications >> General Email Settings
Emails and Notification: Basic
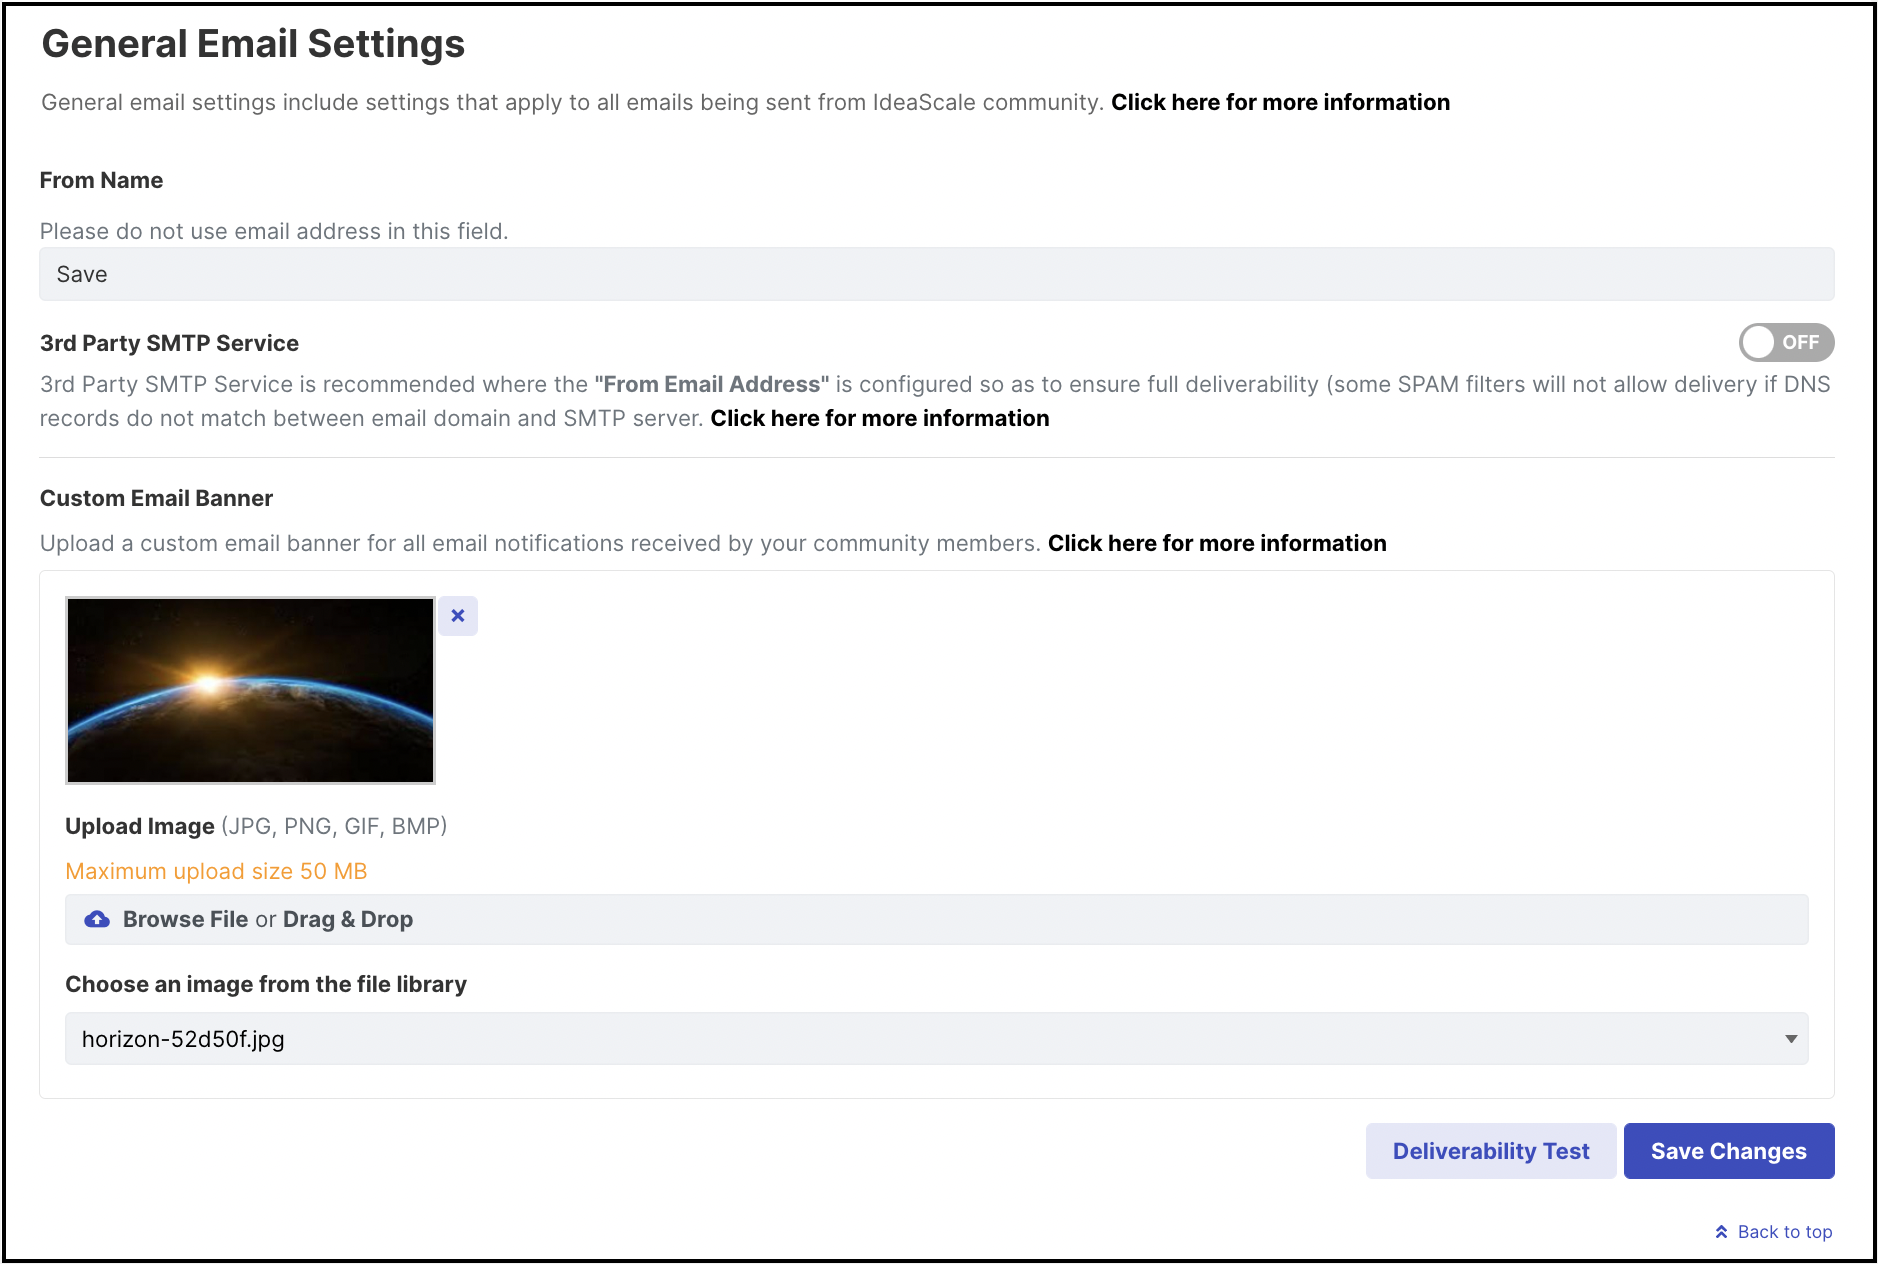
1) From Name: A specific name can be entered in this field instead of the default (community name) which will appear as the sender in all the emails which come from the community.

Emails and Notification: Advanced

Toggle the switch to Advanced to access these settings.
2) 3rd Party SMTP Service: In the case of customized 'From Email address', this setting needs to be set up by switching the button to 'On'. It opens up the options to connect to SMTP via SSL. Specify the SMTP Host Server, SMTP Port, SMTP Username, and the Password.

We can also validate SMTP by using the Validate button which will help us determine if the information provided is correct and if it functions properly. In case there is an error it will provide us with the View SMTP Error link.
Note: Make sure all required fields like SMTP Host Server, SMTP Port, SMTP Username, and Password are specified correctly when "3rd Party SMTP Service" is enabled in your community. If these fields are left empty, it will NOT send any notification emails from IdeaScale to any user, eg: Password Reset emails, invitation emails, notifications, etc.
3) Custom Email Banner: A custom email banner can be set instead of the default IdeaScale one by uploading the custom banner in the Community File Library followed by its selection from the custom email banner dropdown or you can simply drag and drop the file into the area. The uploaded images can be resized and readjusted using the resizer.
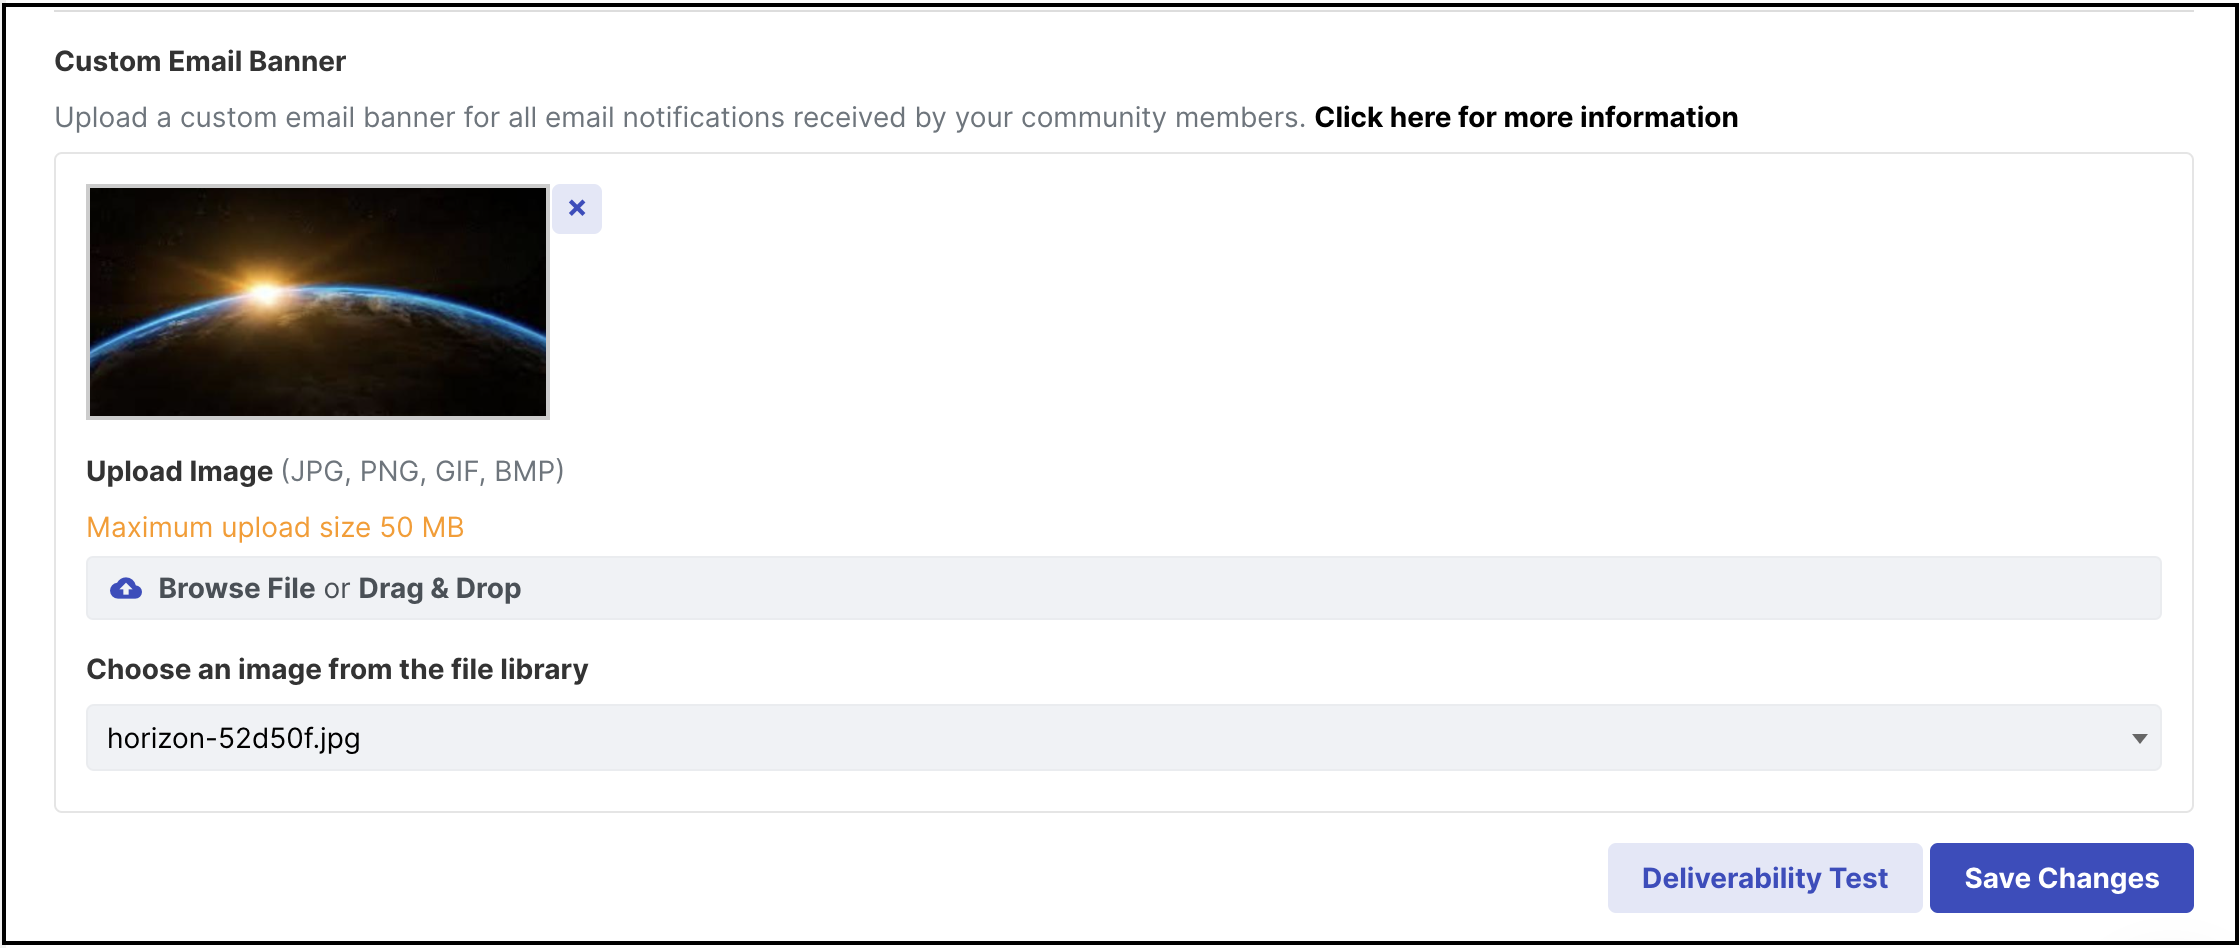
4) Email Deliver Reports: Clicking on the Deliverability Test button gives us a detailed report of the email that has been sent out.
Please refer to this help article for more information.