Path: Workspace Homepage >> Navigation Panel >> Settings >> Community >> Community Configuration >> File Library
The File Library allows community administrators to upload, organize, and manage files and images that can be reused across the community. These assets can be applied as banner images, logos, campaign visuals, and community images, or added as downloadable files linked from various pages within the community. Using the File Library centralizes commonly used visual and file resources in a single, easily accessible location.
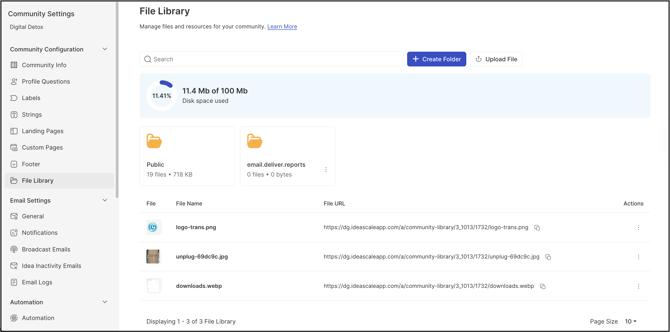
TABLE OF CONTENTS
Search
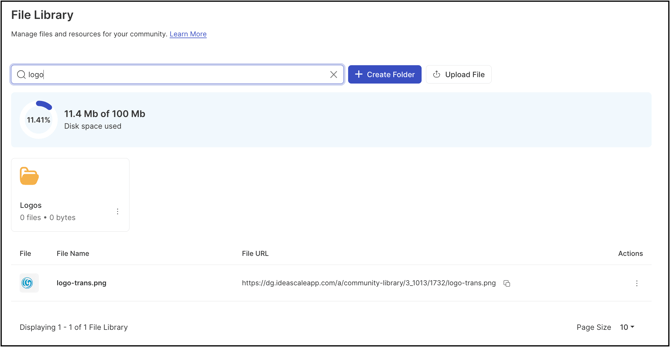
The search option allows to look for a particular file name or folder using the full name or part of it. The search results display all files and folders within the currently selected page that match the search criteria. Items stored in other folders are excluded from these results.
Folders
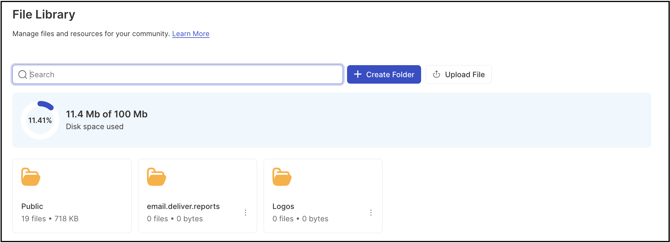
Admin can create multiple folders within the File library to keep it organized and easy to find. All the folders are displayed in the order they are created, with the latest folder at the end of the list.
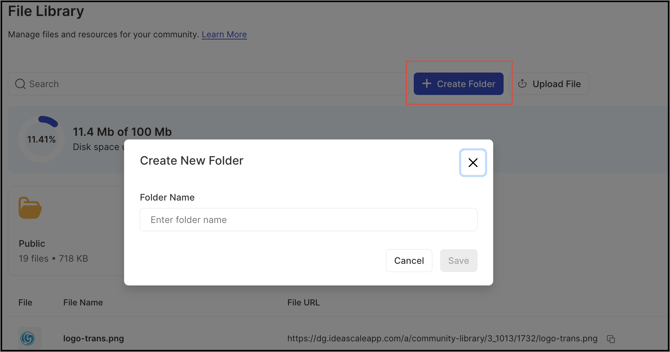
To create a new folder, click on the + Create Folder button, enter the desired folder name and save it. A sub-folder can also be created within a folder.
The folders provide quick information about the number of files and total folder size with all the files within.
The folder can be renamed and deleted using the More icon (3 dots) appearing near the folder.
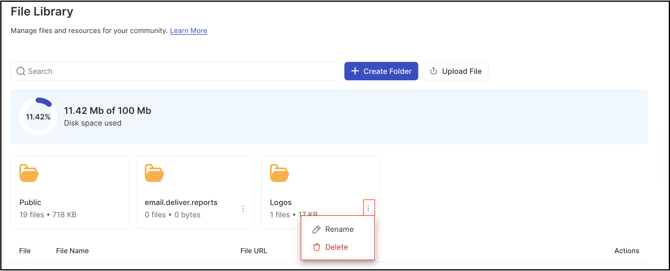
The Public folder stores all files that have been set as Make it Public.
Note: Public folder is system-generated and cannot be deleted.
File Upload
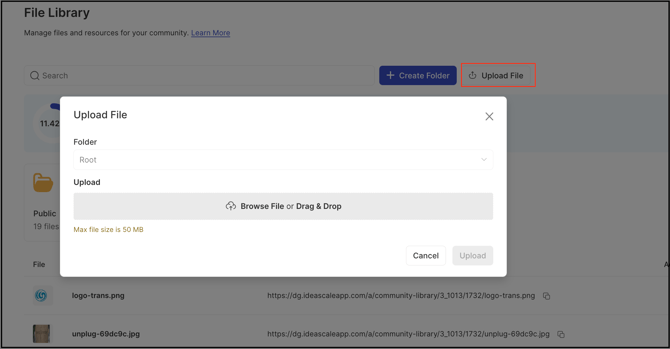
To upload a file to the File Library, click the Upload File button to open the upload modal. Select the destination folder, then either browse your computer to choose a file or drag and drop the file into the designated area. When finished, click Upload. Please ensure that each file is no larger than the max file size mentioned on the upload modal.
Actions
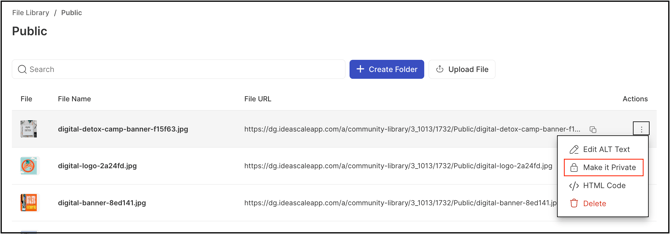
For each uploaded file, additional options are available by clicking the More (three dots) icon in the Actions column.
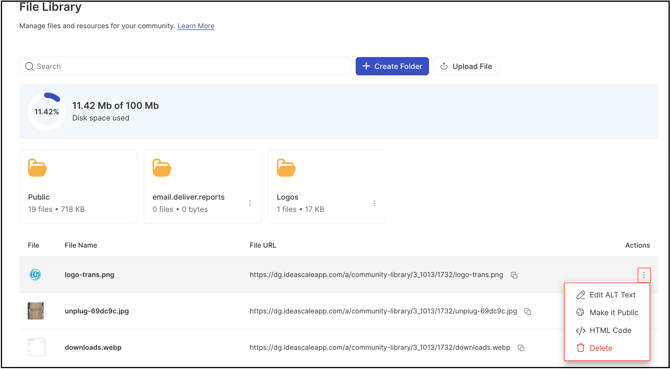
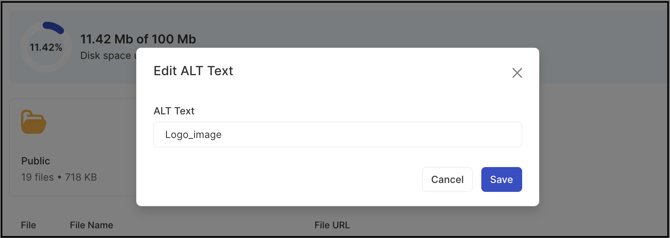
1. Edit ALT Text
The Alt text is an alternate text visible to the users when the file cannot be rendered for some reason. Click on the Edit ALT Text option for the image and enter the text. Save once done.
2. Make it Public
In case of a private community where an community admin is using the images in emails, banners i.e. wish to make them available outside of IdeaScale application, it is advisable to mark the images and files as public by clicking on the Make it Public. The files will then be available for external communication as well.
These images once made public will be removed from the main File library area (Root) and instead housed under the 'Public' folder in the File Library itself.
The public images (from Public folder) can be made private again by clicking on the Make it Private option under the More (three dots) icon in the Actions column. These file will then moved to the Root folder again.
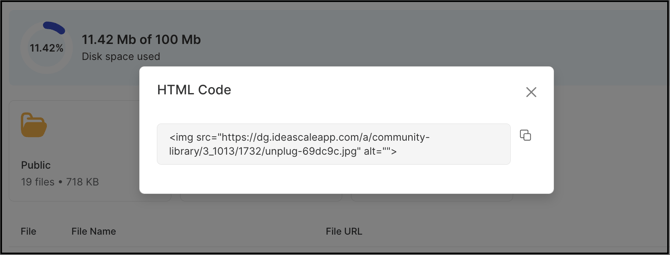
3. HTML Code
Clicking on HTML Code option provide the embed code for the file to be inserted in various webpages.
4. Delete
Use the Delete option to permanently remove a file from the File Library. Once a file is deleted, it cannot be recovered. If the deleted file is referenced anywhere in the community (for example, in banners, emails, or pages), it will no longer display in those locations.
File Limit, Size and Types
Admin can upload the unlimited number of files with all paid subscriptions. However, depending on the subscription level there is a limitation on the total file size.
The following file types can be uploaded:
-
Image files: .gif, .jpg, .png, .bmp, tif, tiff and svg.
-
Audio file: .mp3
-
Video files: .avi, .mpeg
-
Documents: .txt, .doc, .docx, .xls, .xlsx, .ppt, .pptx, .pdf
-
3D printing files: .obj, .stl, and .stp